#NoFilter
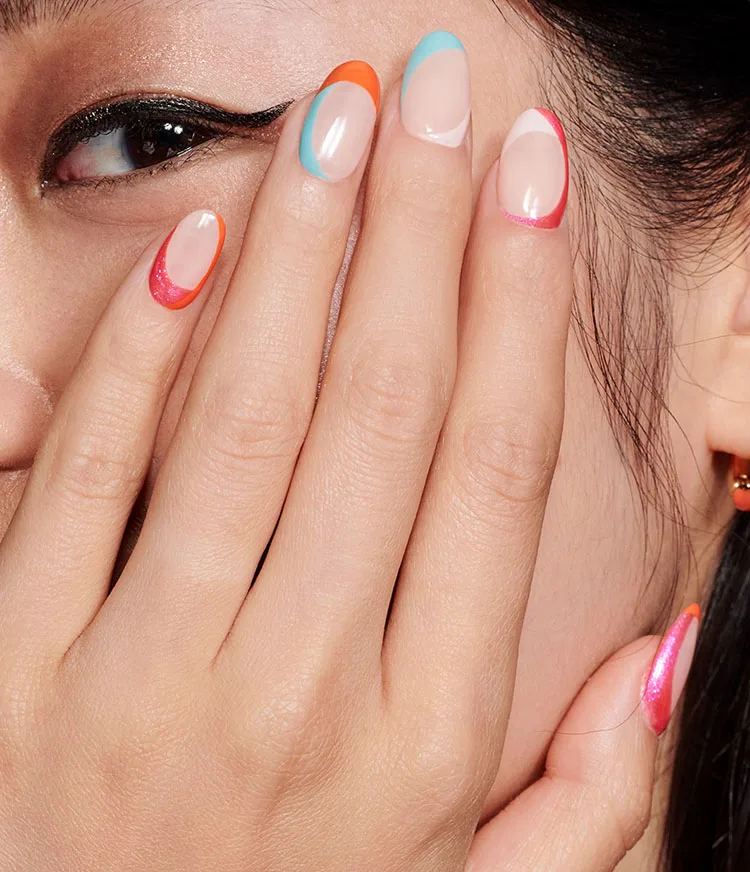
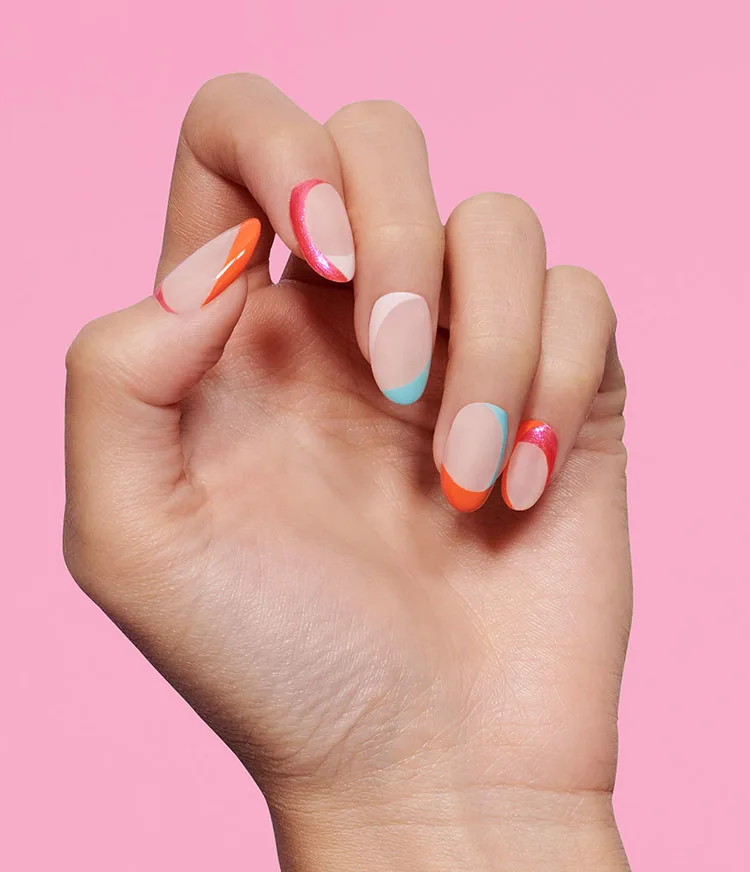
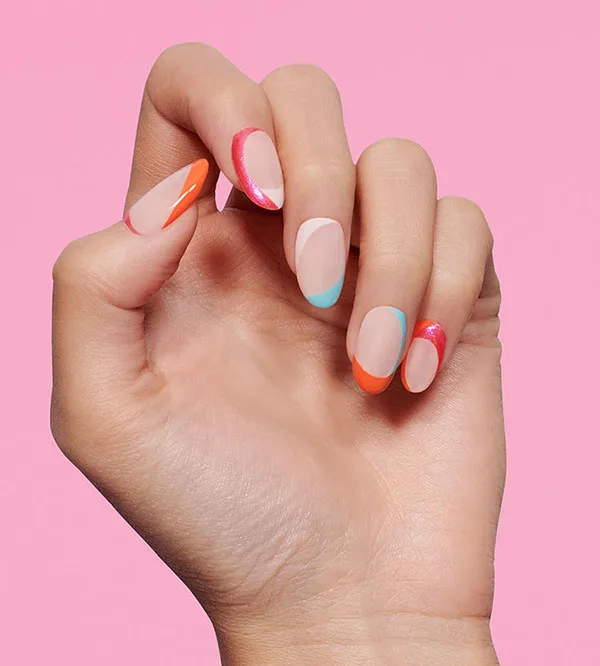
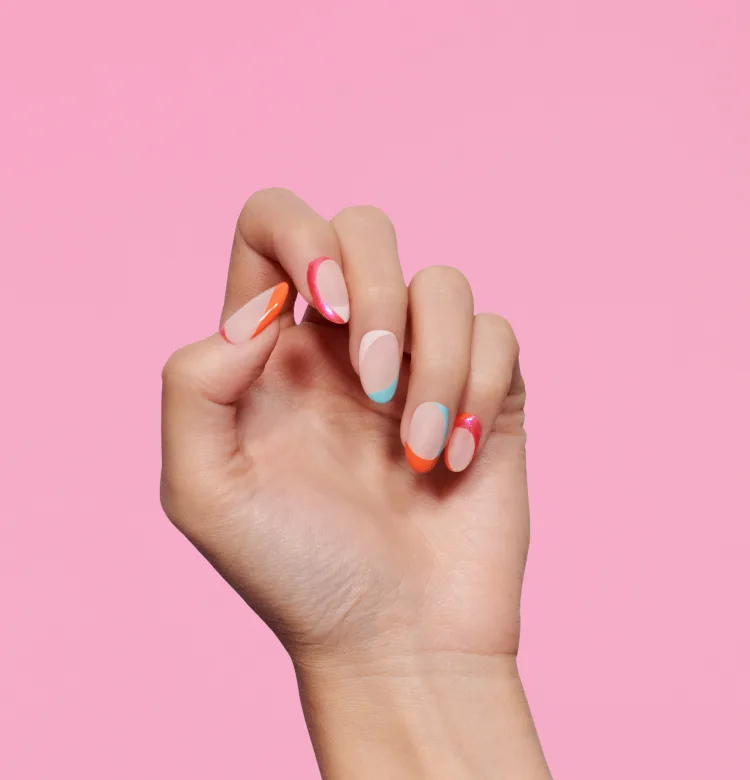
This spring nail art with abstract linework will get you alllllll the likes. Use the latest spring shades from the Me, Myself, & OPI collection to get this two tone nails DIY nail art look.
Step by Step
Step 1
Before You Begin: Complete OPI Nail Lacquer Prep Step by Steps. Apply one coat of Natural Nail Base Coat. Allow to dry.
Step 2
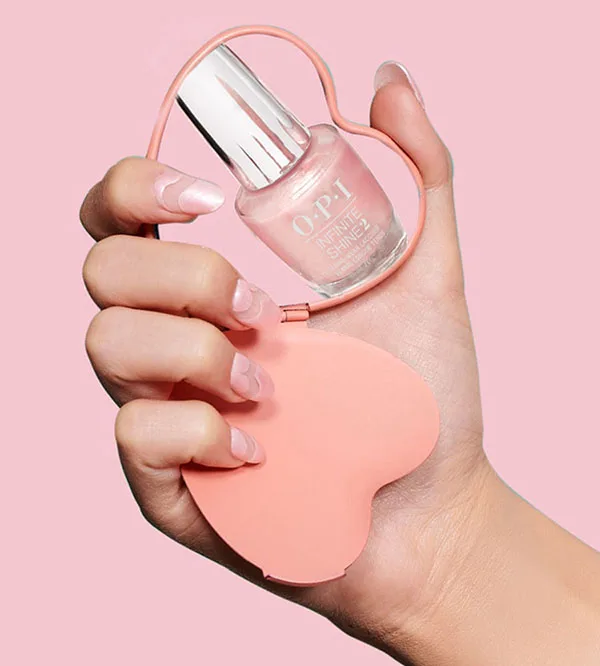
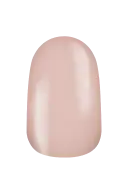
Apply one coat of Nail Lacquer Baby, Take a Vow. Allow to dry.
Step 3
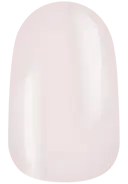
Using a detail brush and Nail Lacquer Spring Break the Internet start on the right side and create a swoosh of color across the tip of the nail, filling in with the brush from the bottle and the detail brush to refine lines. Allow to dry.
Step 4
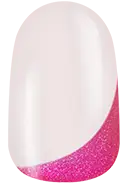
Using a detail brush and Nail Lacquer Silicon Valley Girl start on the right side and create a swoosh of color across the tip of the nail, filling in with the brush from the bottle and the detail brush to refine lines. Allow to dry.
Step 5
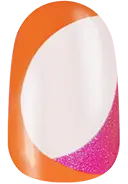
Apply a coat of Nail Lacquer Top Coat. Allow to Dry. Apply ProSpa Nail & Cuticle Oil to each nail and massage in.
Video Tutorial

Me, Myself, and OPI Nail Art

Show 'Em Off
Snap a nailfie and tag us @opi or use #OPIObsessed for a chance to be featured on our channels.
Follow us on Instagram