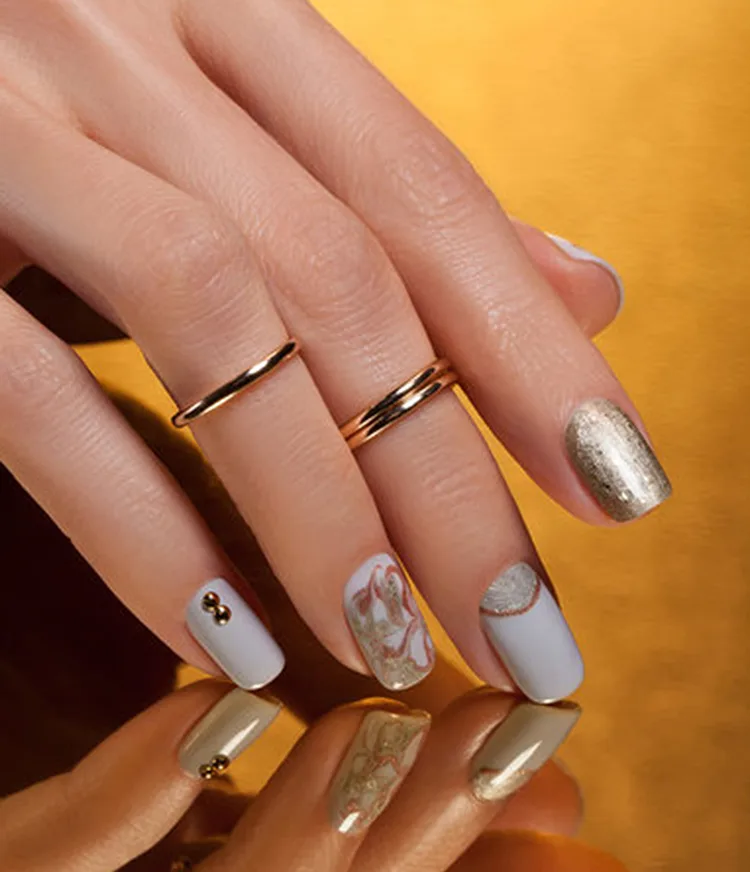
Marble Nails
Try out this sophisticated marble nail art look for fall from OPI. Follow our step-by-step instructions to achieve these glittery marble nails.
Step by Step
Step 1
Begin by applying 1 coat of OPI GelColor Base Coat of your choice, to properly prepped nails. Cure for 30 seconds in OPI LED Light.
Step 2
Apply one thin coat of OPI GelColor I Cannoli Wear OPI. Cap free edge. Cure 30 seconds. Apply a second coat of OPI GelColor I Cannoli Wear OPI. DO NOT CURE.

Step 3
Using OPI GelColor Worth a Pretty Penne, apply random dots. Repeat with OPI I Mica Be Dreaming. DO NOT CURE.

Step 4
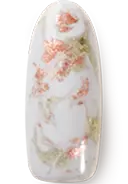
Using a dotter tool, drag the dots in a swirl pattern to create a marble effect. Do not drag too much as it will blend the colors. Cure 30 seconds.
Step 5
Apply 1 coat of OPI GelColor Stay Shiny Top Coat. Cure for 30 secs. Remove the inhibition layer with a nail wipe saturated in N.A.S 99. Add a drop of ProSpa Cuticle Oil to each nail and massage in.
Video Tutorial
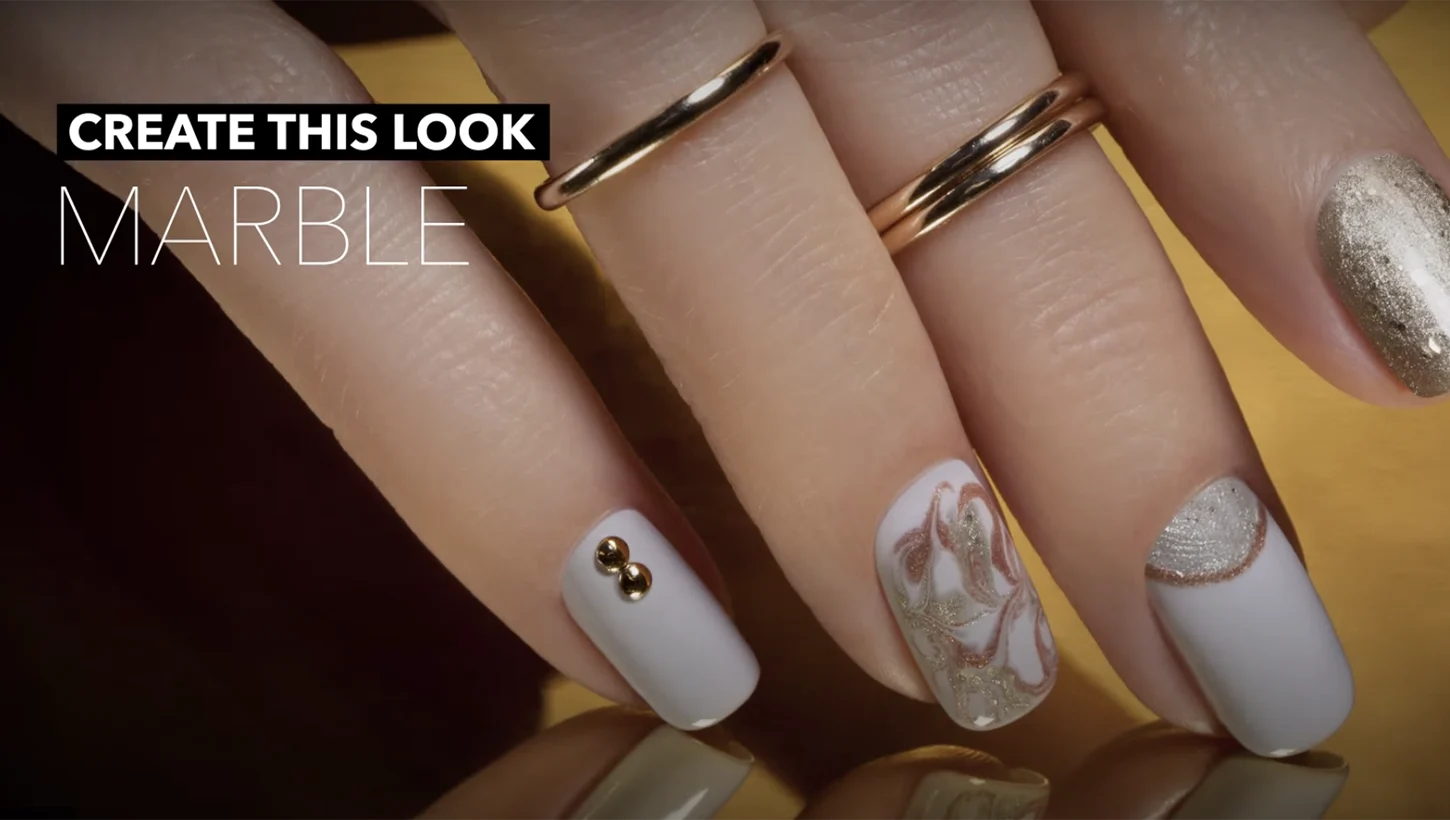
Venice Nail Art


Show 'Em Off
Snap a nailfie and tag us @opi or use #OPIObsessed for a chance to be featured on our channels.
Follow us on Instagram