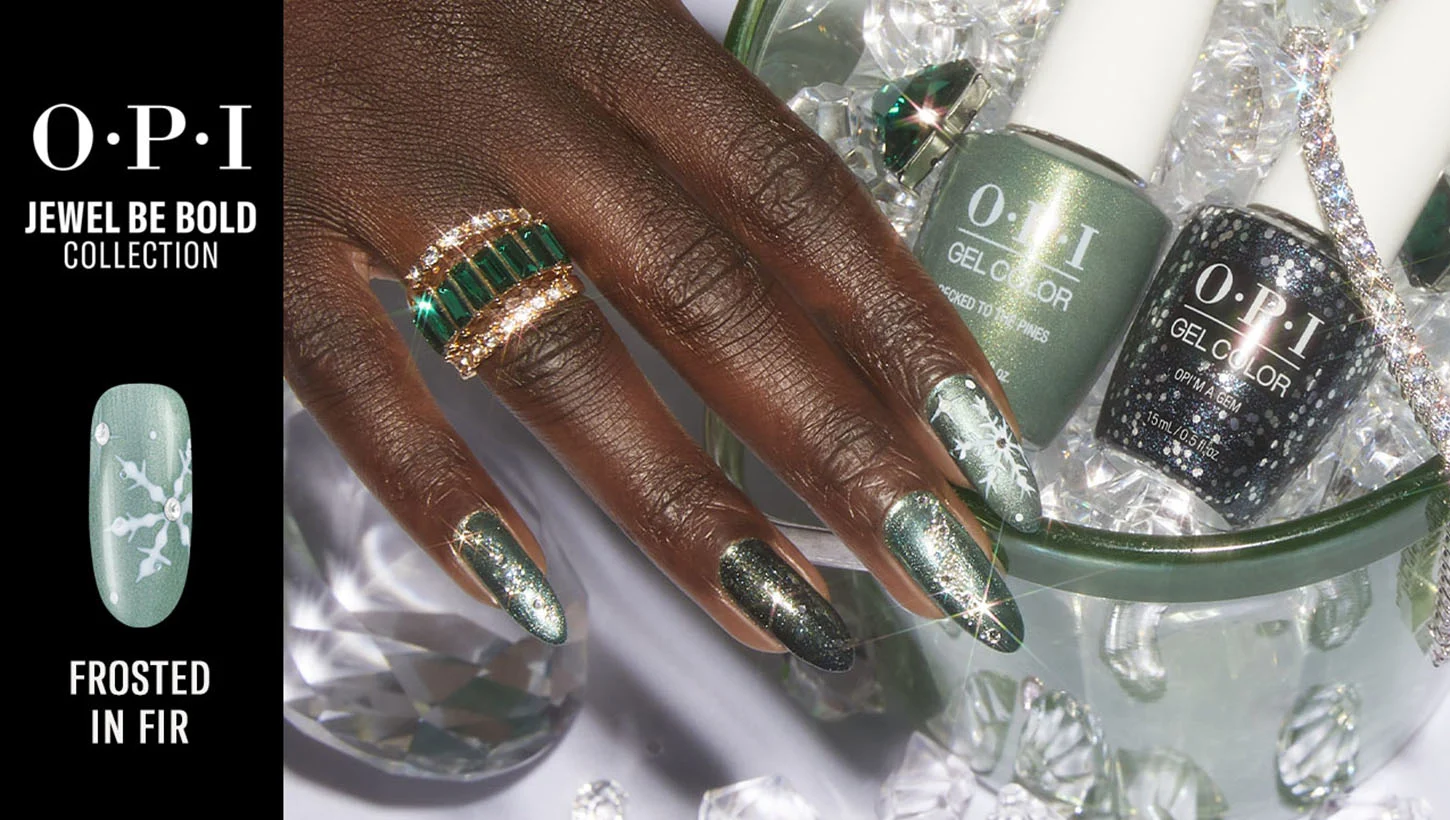
Frosted in Fir
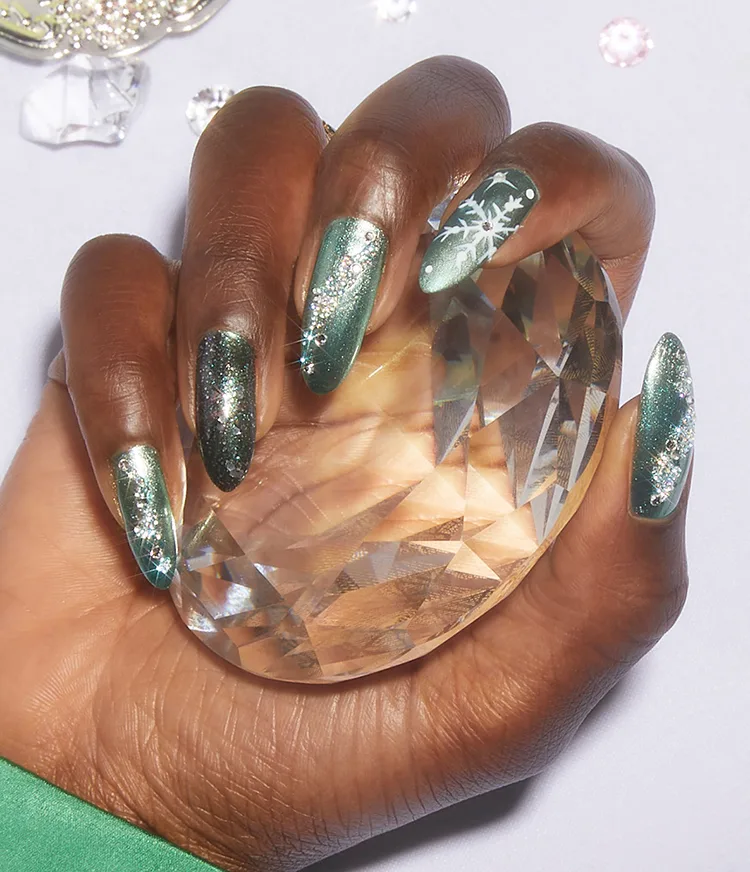
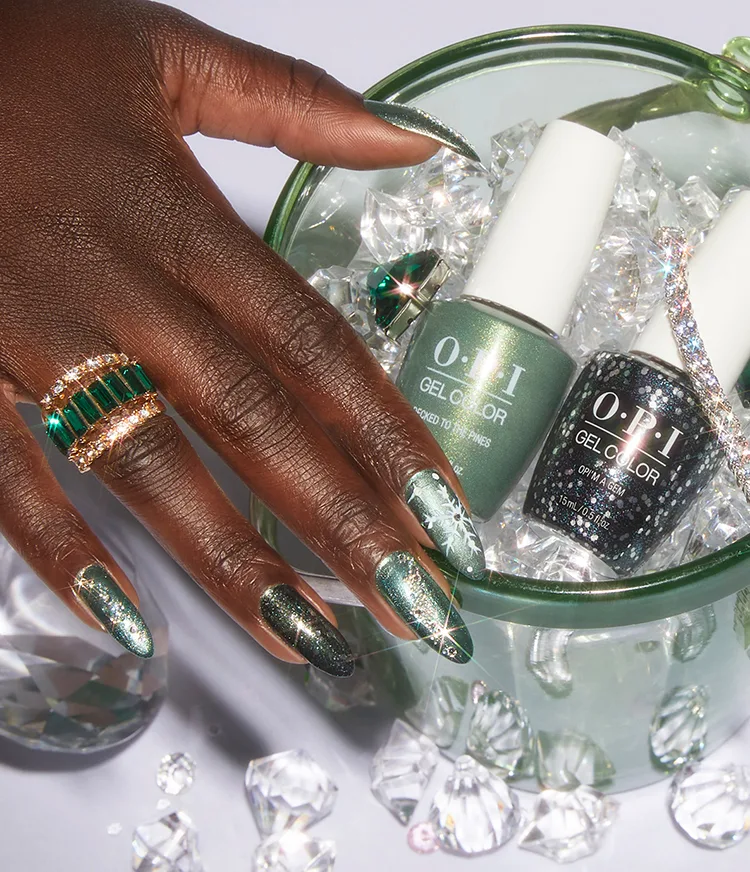
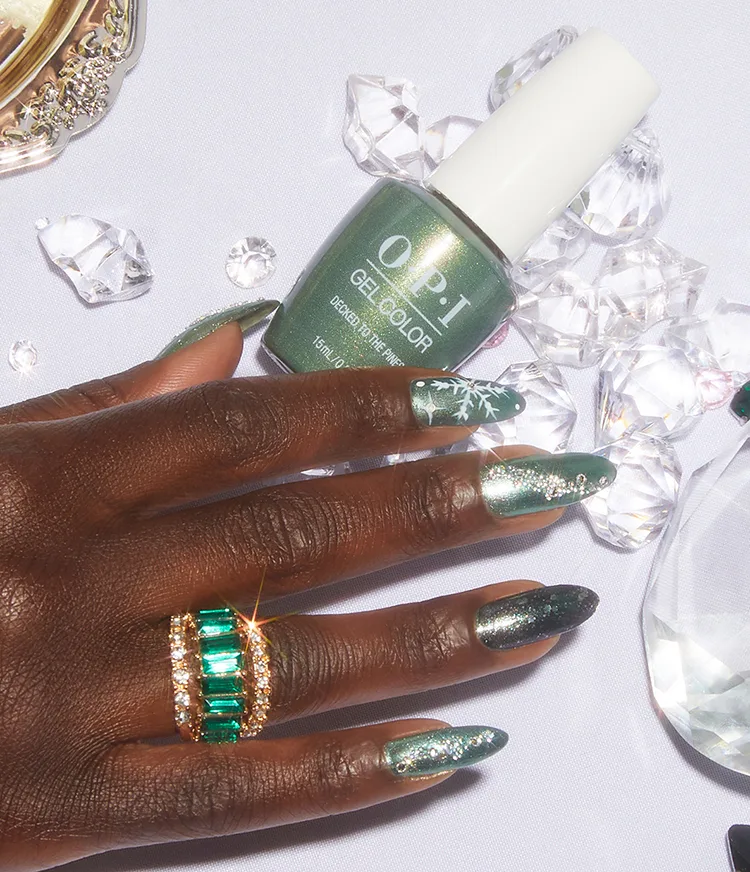
Holiday nails inspo: these tree-mendously gorgeous snowflake nails with embellished linework. Use trending shades from the Jewel Be Bold collection to get this holiday nail art look.
Step by Step
Step 1
Complete OPI GelColor Prep Step by Steps. Apply one coat of GelColor Stay Strong or Stay Classic Base Coat and cure for 30 seconds in the OPI LED Light.
Step 2
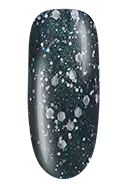
Apply two coats of GelColor Decked to the Pines to all five nails. Cure each coat for 30 seconds in the OPI LED Light.

Step 3
Apply GelColor OPI’m a Gem to the thumb and the ring fingernails. Flash cure for 5 seconds in the OPI LED Light. Remove the gel residue from the index fingernail with a Nail Wipe and N.A.S. 99 Cleansing Solution.
Step 4
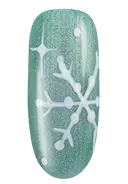
Using a detail brush, paint a snowflake, start with an X, adding a third line through the center creating a star shape. Flash cure for 5 seconds in the OPI LED Light.
Pro Tip: Create a dot with a doting tool to use for snowflake placement.

Step 5
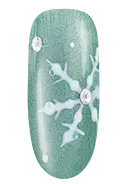
Continue to add detail to the snowflake, using a dotting tool, apply a dot of GelColor Alpine Snow towards the end of each line. Add additional lines near the center of the star shape and at the tip of each line.
Step 6
Apply a coat of GelColor Stay Matte Top Coat over the index fingernail. Do not cure. Use a crystal applicator to apply a clear crystal to highlight the snowflake. Apply a coat of GelColor Stay Shiny Top Coat to the remaining nails.
Step 7
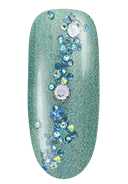
Use a detail brush dipped in the top coat to place crystals and crystal pixies on the middle and pinkie fingernails. Cure for 30 seconds in the OPI LED Light.
Step 8
Cleanse with N.A.S. 99 Cleansing Solution and an Expert Touch Nail Wipe. Apply ProSpa Nail & Cuticle Oil to each nail and massage in.
Video Tutorial
Jewel Be Bold Nail Art


Show 'Em Off
Snap a nailfie and tag us @opi or use #OPIObsessed for a chance to be featured on our channels.
Follow us on Instagram