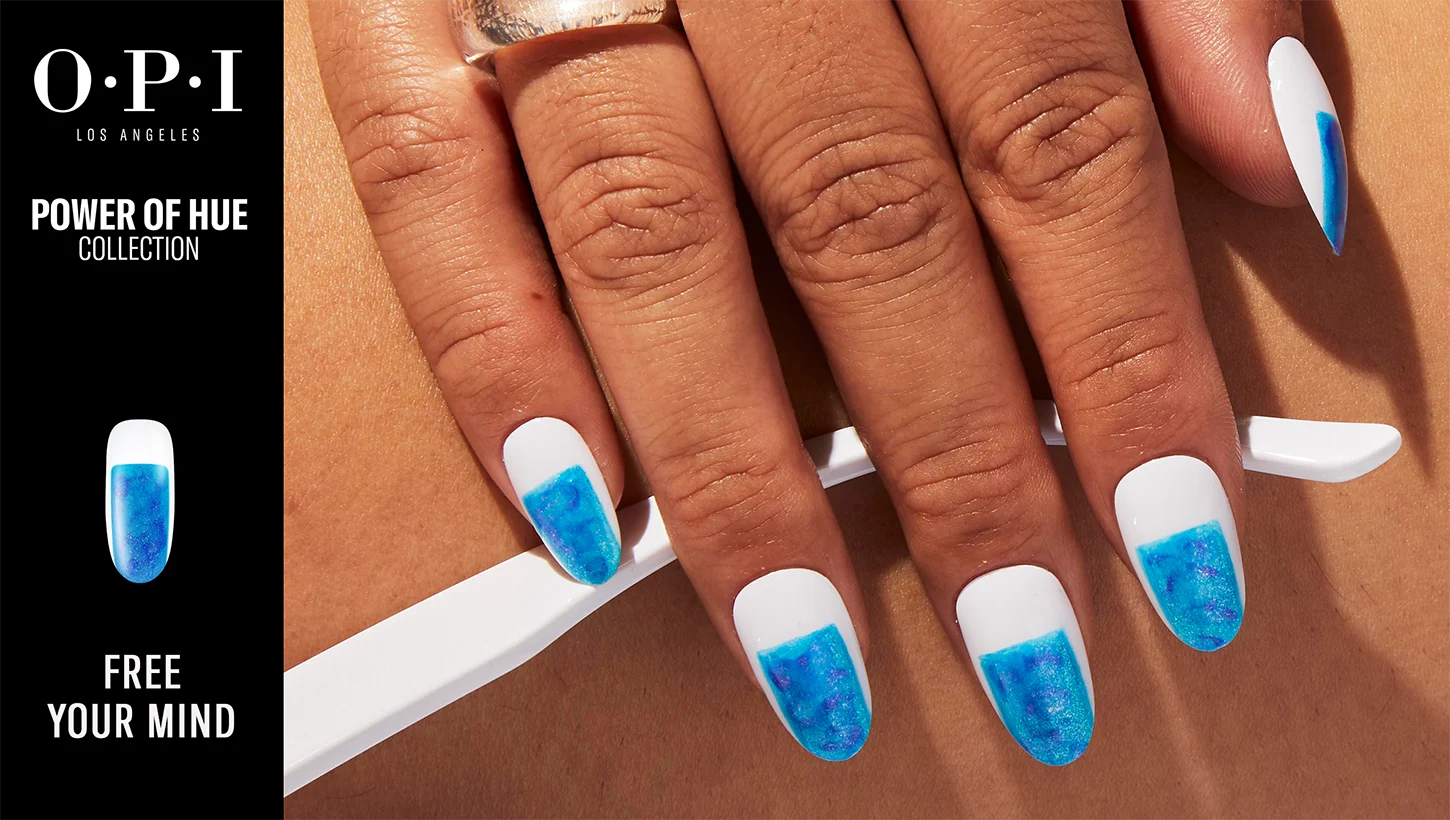
Free Your Mind
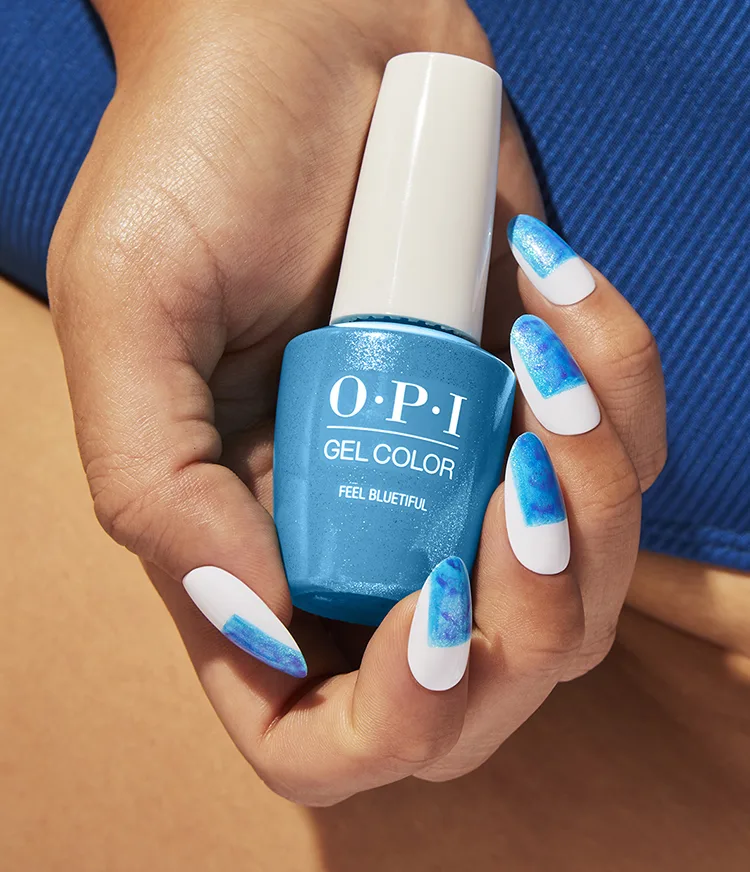
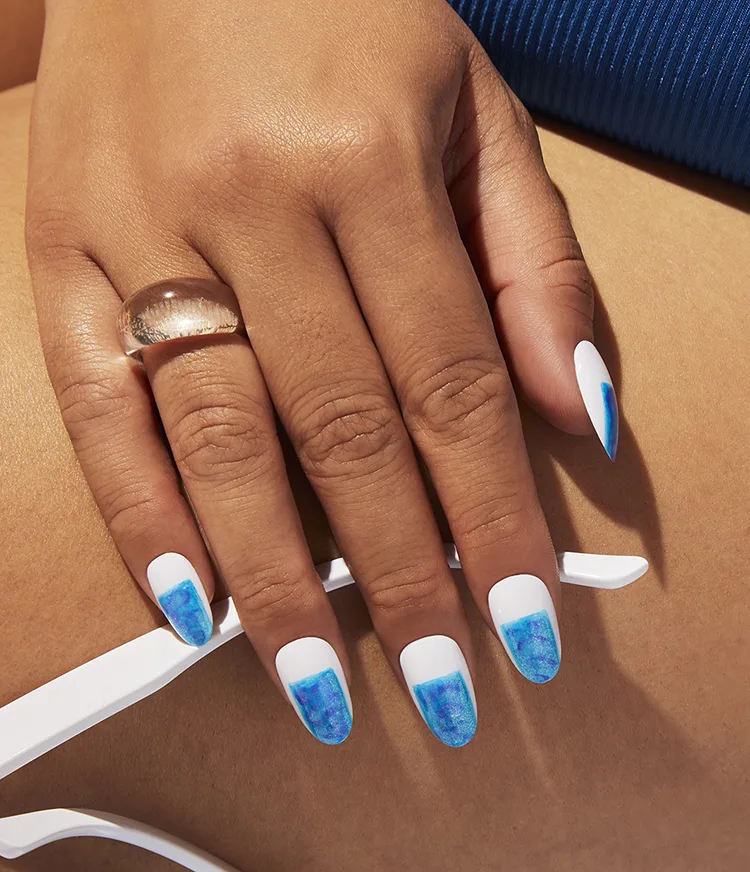
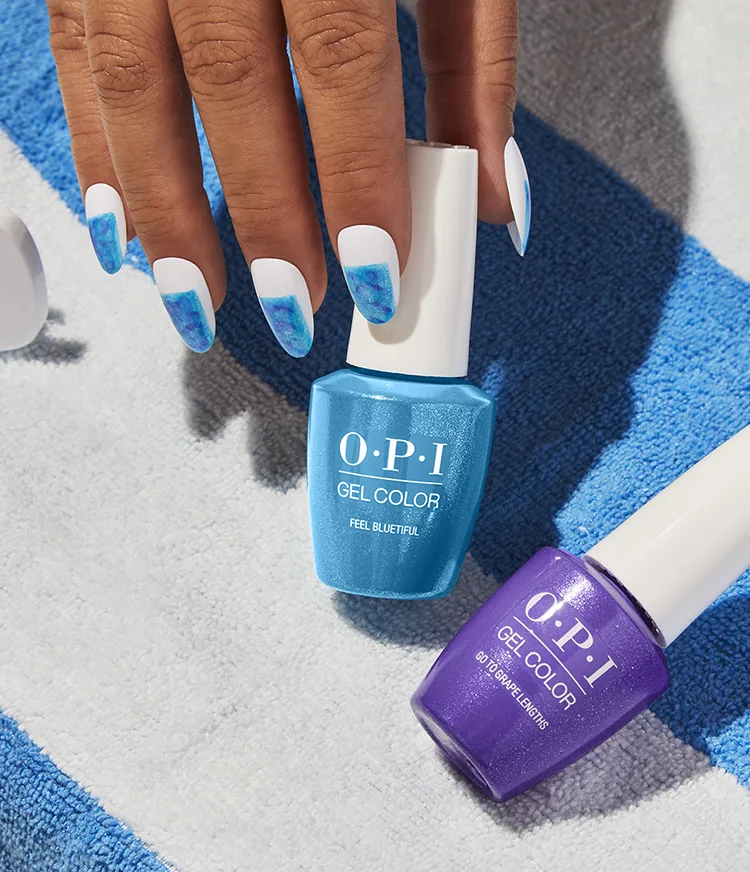
Marble nails with gel polish are the trend to rock this summer. In this tutorial featuring OPI GelColor and the OPI Star Light Gel Lamp, we share our technique for creating this look for clients.
Step by Step
Step 1
Apply 1 coat of Stay Classic or Stay Strong Base Coat. Cure for 30 seconds.
Step 2
Apply two coats of OPI GelColor Alpine Snow. Cure each coat for 30 seconds in the OPI LED Light.

Step 3
Use the brush from the bottle to create a color block with OPI GelColor Feel Bluetiful. Cure for 30 seconds in the OPI LED Light.

Step 4
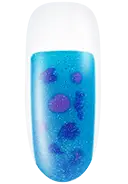
Apply drops of OPI GelColor Go To Grape Lengths and Feel Bluetiful to the nail. Do not cure.
Step 5
Use the flat side of an oval brush dipped in N.A.S. 99 Cleansing Solution to press into the dots of color to create a marble effect. Cure for 30 seconds in the OPI LED Light.

Step 6
Apply Stay Shiny Top Coat and cure for 30 seconds. Wipe the nail clean with an Expert Touch Wipe and N.A.S 99. Finish with ProSpa Nail & Cuticle Oil and massage in.
Video Tutorial
Power of Hue Nail Art

Show 'Em Off
Snap a nailfie and tag us @opi or use #OPIObsessed for a chance to be featured on our channels.
Follow us on Instagram
