All the Right Angles
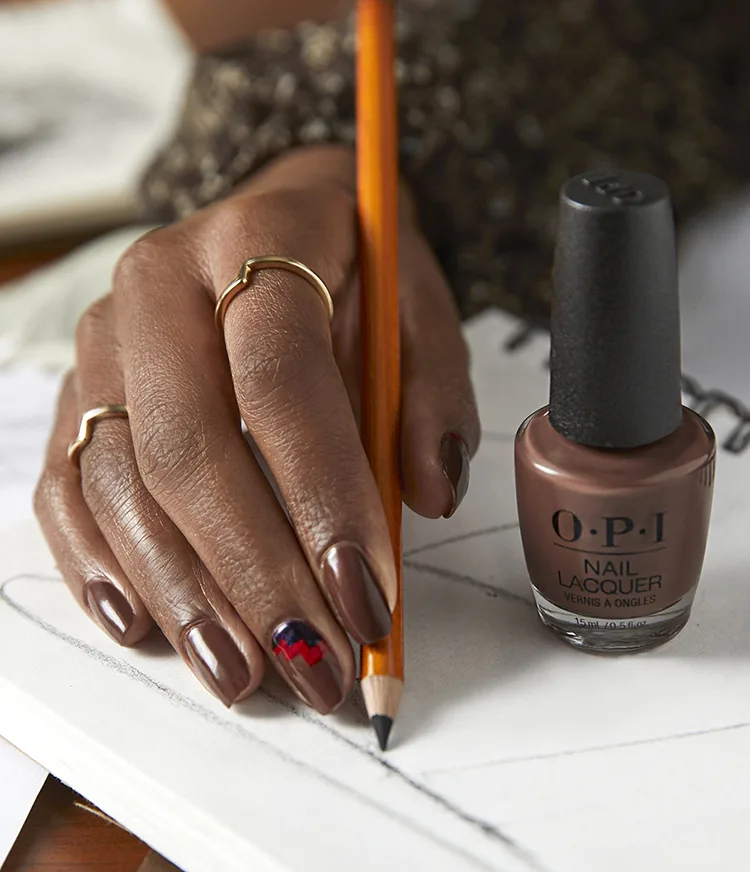
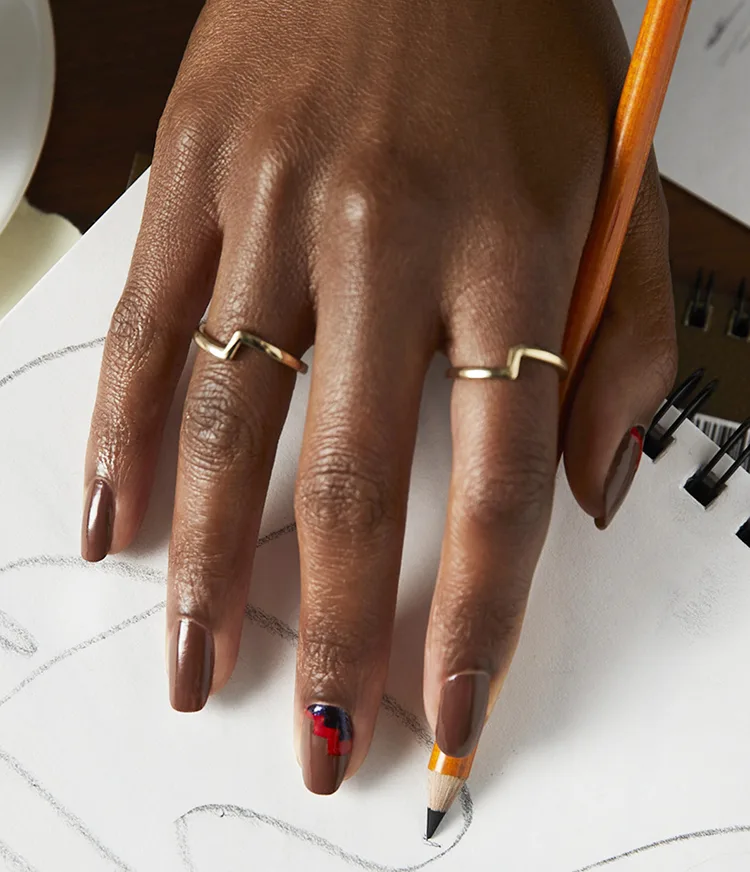
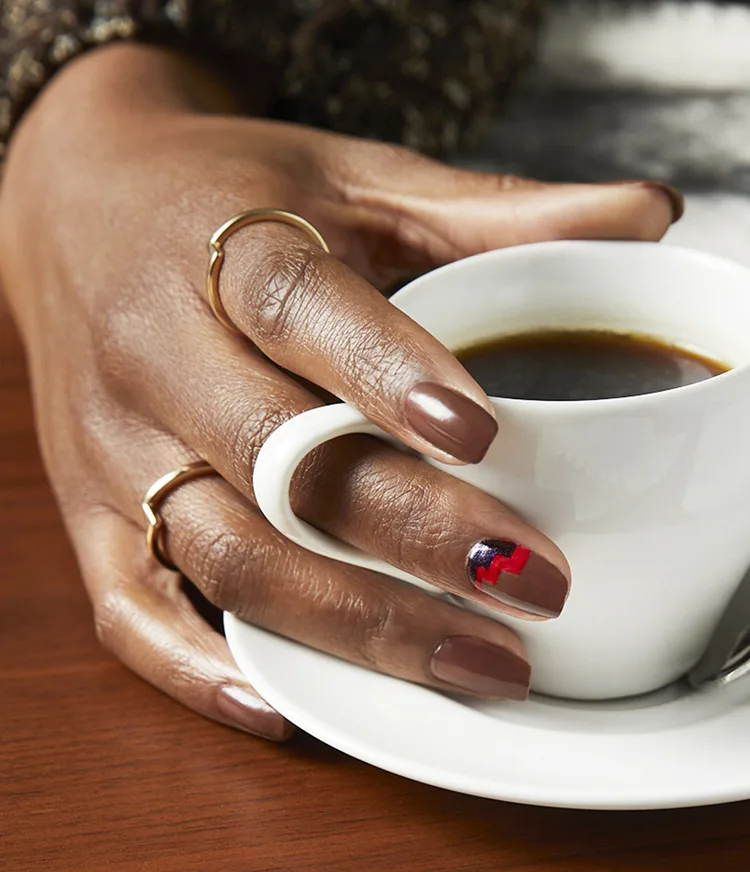
Your nails will look perfect from every angle with this colorblocking DIY nail art look from the OPI Downtown LA Collection: All the Right Angles.
Step by Step
Step 1
Apply 1 coat of Nail Lacquer Base Coat. Let dry.
Step 2
With a detail brush and Espresso Your Inner Self create a step like shape from left to right in the top third section of the nail. Allow to dry and repeat for coverage.

Step 3
Using Art Walk in Suzi's Shoes, paint a zig zag line that follows the step shape of the first shade. Allow to dry and repeat for coverage.
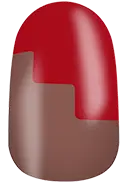
Step 4
With a detail brush and Abstract After Dark, fill in the bottom following the same zig zag shape. Allow to dry.

Step 5
Apply one coat of Nail Lacquer Top Coat. Let dry. Apply ProSpa Nail & Cuticle Oil and massage in.
Video Tutorial
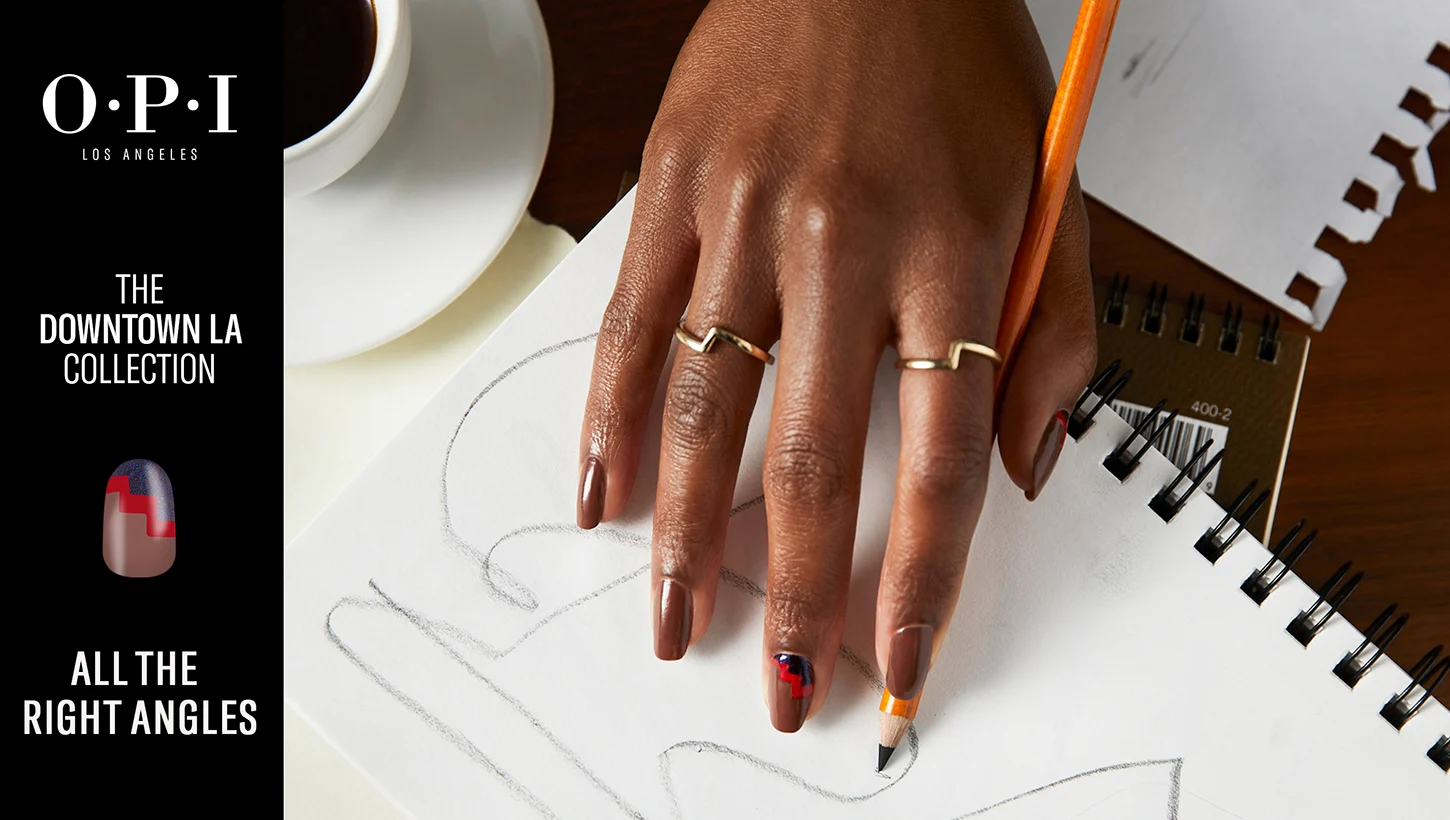
Downtown Los Angeles Nail Art


Show 'Em Off
Snap a nailfie and tag us @opi or use #OPIObsessed for a chance to be featured on our channels.
Follow us on Instagram