Red-y for Gold
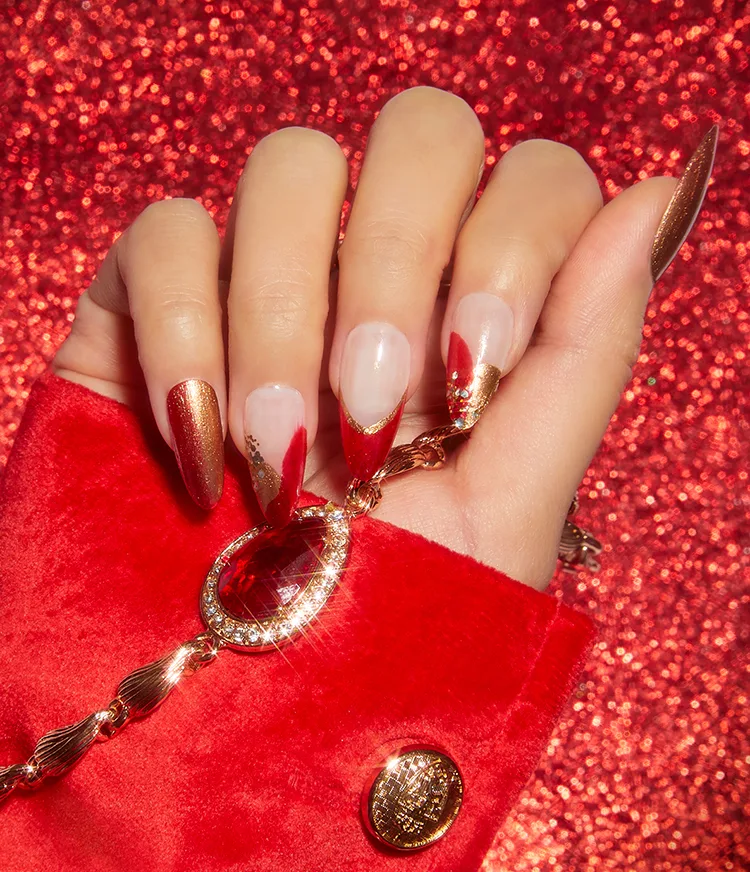
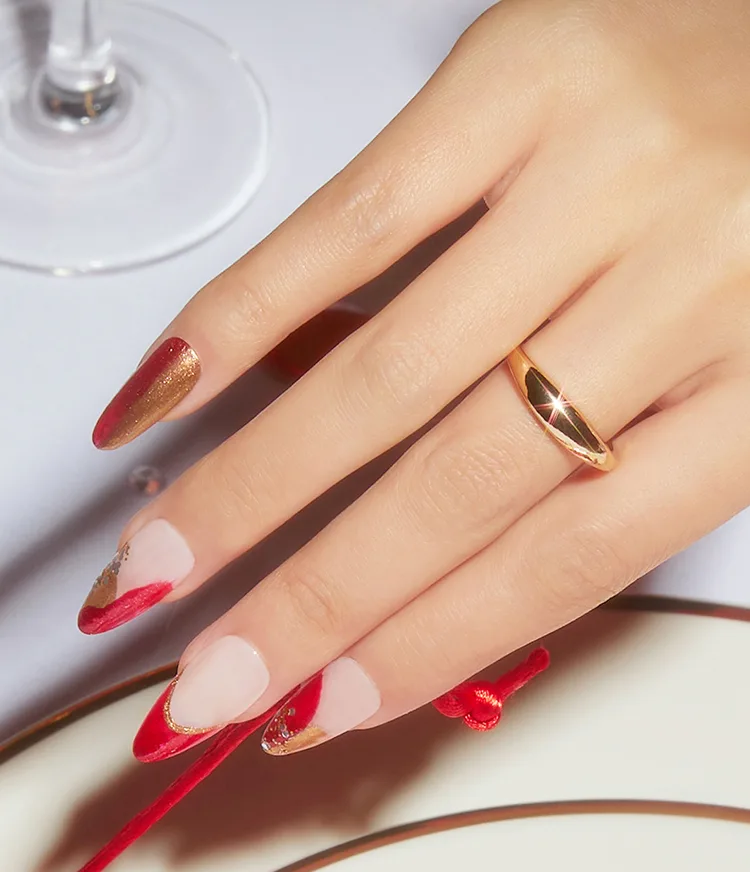
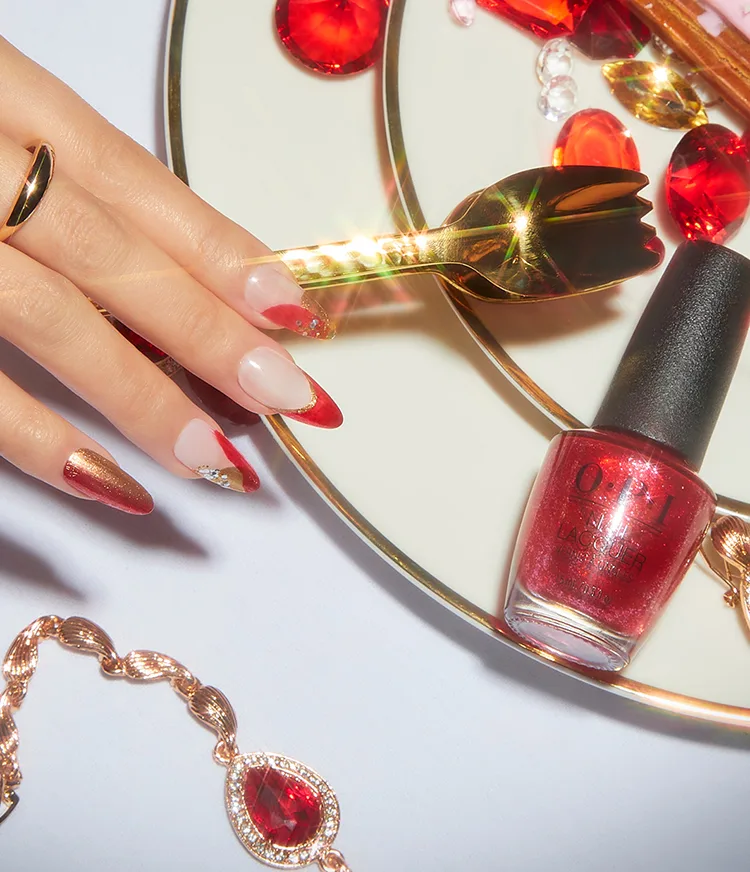
Red Christmas nails, the modern way–paired with gold and applied just to the tip. Use trending holiday nail polish shades from the Jewel Be Bold collection to get this DIY nail art look.
Step by Step
Step 1
Complete OPI Nail Lacquer Nail Prep Step by Steps. Apply one coat of Natural Nail Base Coat. Allow to dry.
Step 2
Apply one coat of Nail Lacquer Baby, Take a Vow. Allow to dry.

Step 3
Using Nail Lacquer Rhinestone Red-y paint a swoosh of color on the left side of the nail. Allow to dry.
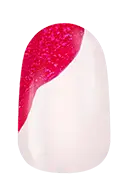
Step 4
Using Nail Lacquer Sleigh Bells Bling paint a smaller swoosh of color on the right side. Allow to dry. Repeat for coverage.
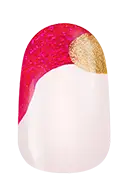
Step 5
Using a detail brush and Nail Lacquer Pop the Baubles apply a swoosh of color slightly above the last swoosh on the right side. Allow to dry.

Step 6
Apply a coat of Nail Lacquer Top Coat. Allow to dry. Apply ProSpa Nail & Cuticle Oil to each nail and massage in.
Video Tutorial
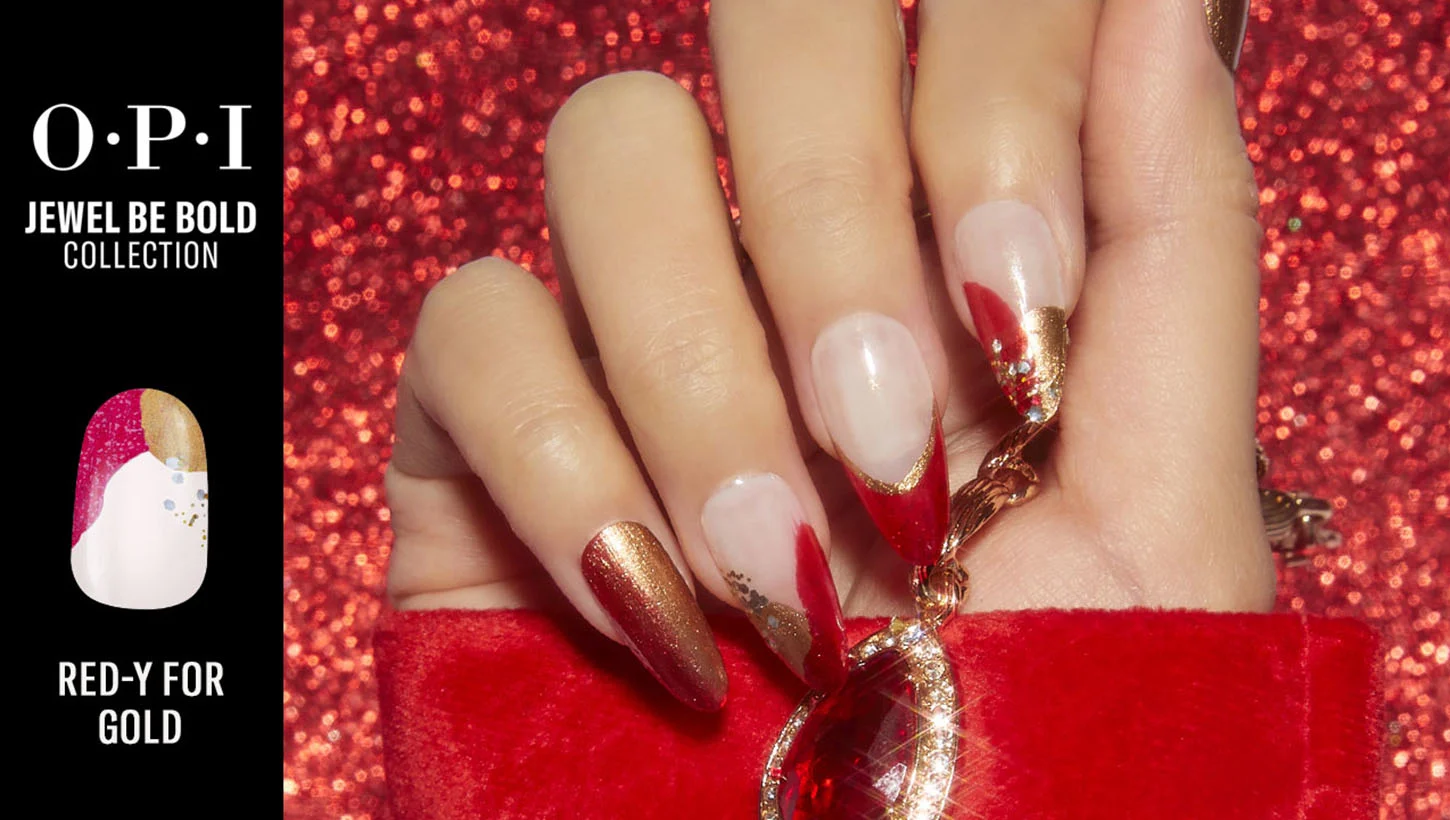
Jewel Be Bold Nail Art
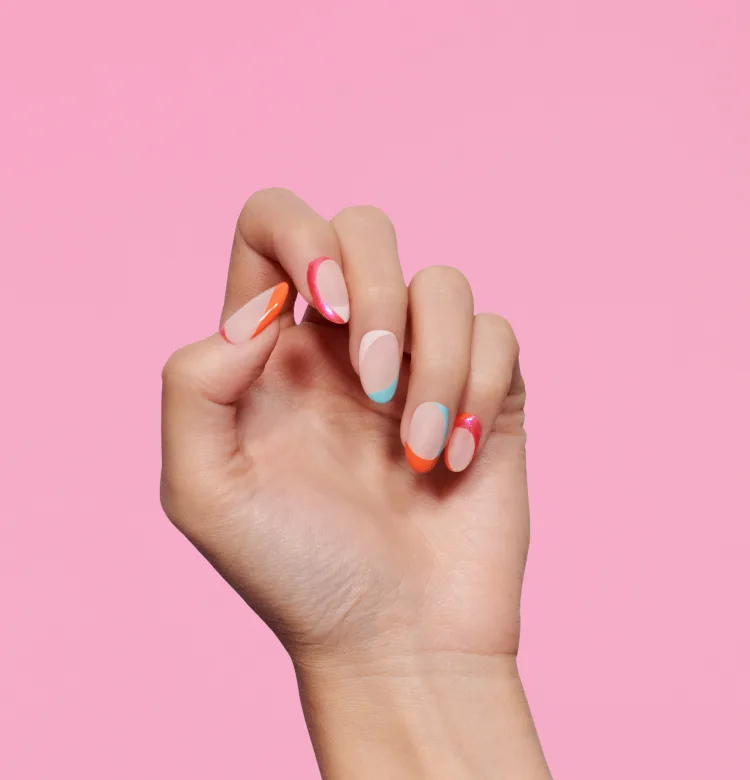

Show 'Em Off
Snap a nailfie and tag us @opi or use #OPIObsessed for a chance to be featured on our channels.
Follow us on Instagram