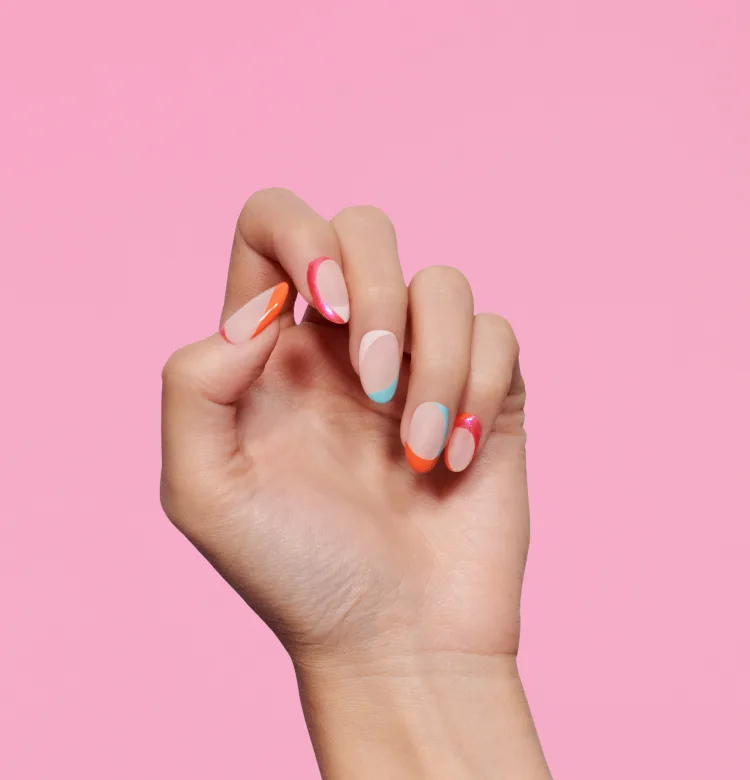
Stripe Right
Stripes on stripes on stripes made easy with a detail brush.
Step by Step
Step 1
BEFORE YOU BEGIN: Prep those nails! Follow our Lacquer prep basics. Apply one coat of Natural Nail Base Coat. Allow to dry.
Step 2
Apply a thin coat of Nail Lacquer Bubble Bath® to the nail. Allow to dry for 1-2 minutes. Repeat for coverage.

Step 3
With a detail or liner brush, apply your first stripe of colour using Stop at Nothin’. Repeat adding stripes of Purrrride, followed by Lookin’ Cute-icle. Allow to dry for 1-2 minutes.

Step 4
Using your detail or liner brush, apply a stripe of colour slightly overlapping the first three stripes using Pricele$$’ Repeat adding stripes of Feelin’ Fire, followed by My Me Era. Allow to dry for 1-2 minutes.

Step 5
PRO TIP: Use a light floating technique when applying a top coat to avoid disrupting the design

Step 6
Apply a coat of Nail Lacquer Top Coat. Allow to dry. Apply ProSpa Nail & Cuticle Oil to the base of each nail and massage in.

Video Tutorial

My Me Era Nail Art


Show 'Em Off
Snap a nailfie and tag us @opinailsuk or use #OPIObsessed for a chance to be featured on our channels.
Follow us on instagram


