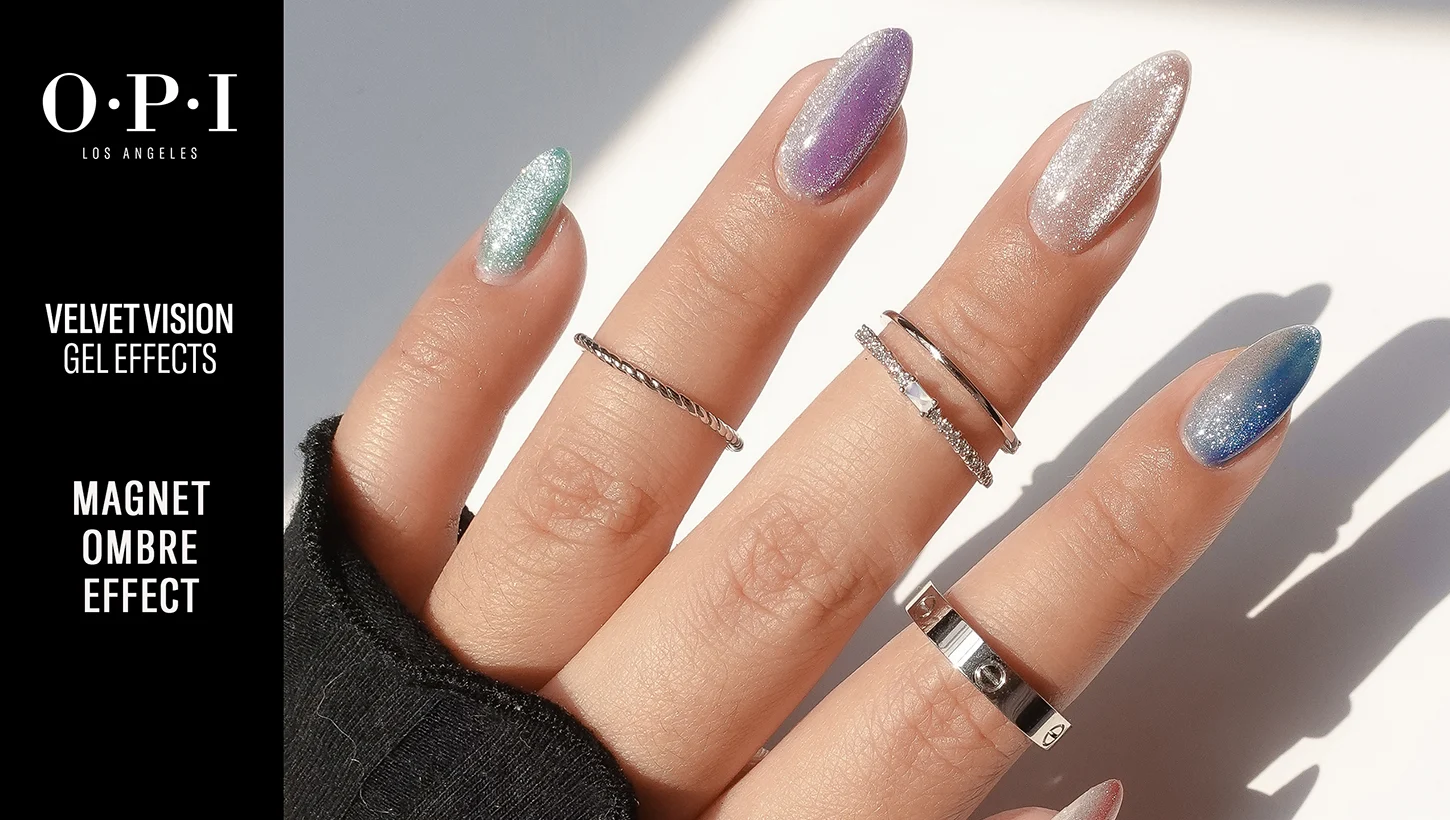
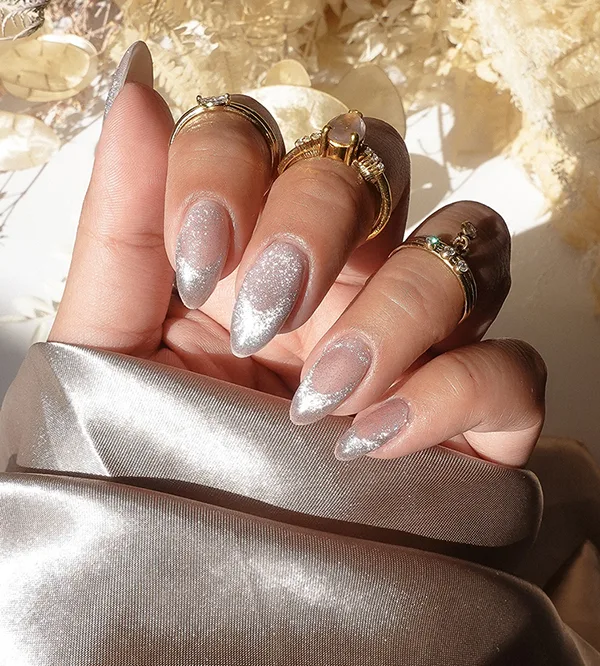
Magnetic Ombre Nail Art
Take your skittle mani to the next level with this magnet effect ombre nail art look with OPI Velvet Vision GelColor shades.
Step by Step
Step 1
Before you begin, complete OPI GelColor nail prep Step-by-Step.
Pro Tip: When applying OPI GelColor Velvet Vision shades, cap the free edge first to avoid interrupting how the magnetic pigments lay. For maximum effect, keep the magnet parallel to the table.
Step 2
Apply one thin and even coat of OPI GelColor Base Coat of choice, making sure to cap the free edge, and cure for 30 seconds in the OPI LED Light.
Step 3
Apply OPI GelColor Teal Trance to one half of the nail vertically and do not cure.
Step 4
On the other half of the nail, apply OPI GelColor Platinum Eclipse and blend the shades together in the middle. Use the magnet to create the desired effect and cure for 30 seconds. Repeat for coverage.
Pro Tip: For maximum effect, keep the magnet parallel to the table.
Step 5
Apply one even coat of OPI GelColor Stay Shiny Top Coat, making sure to cap the free edge, and cure for 30 seconds.
Step 6
Cleanse with an OPI Expert Touch Nail Wipe saturated with OPI N.A.S 99 Cleansing Solution. Apply OPI ProSpa Nail & Cuticle Oil and massage in.
Video Tutorial

GelColor Nail Art


Show 'Em Off
Snap a nailfie and tag us @opi or use #OPIObsessed for a chance to be featured on our channels.
Follow us on Instagram


