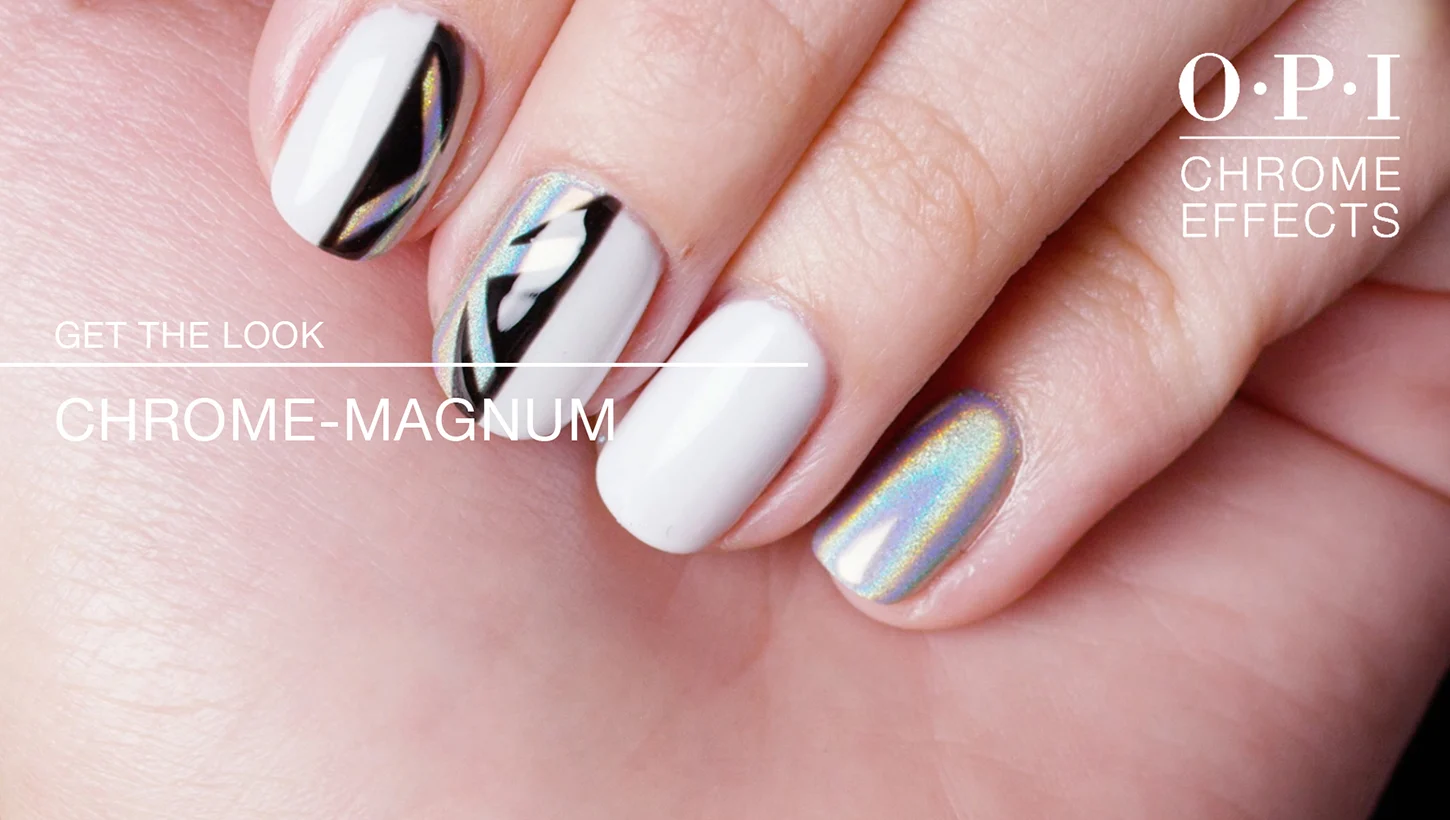
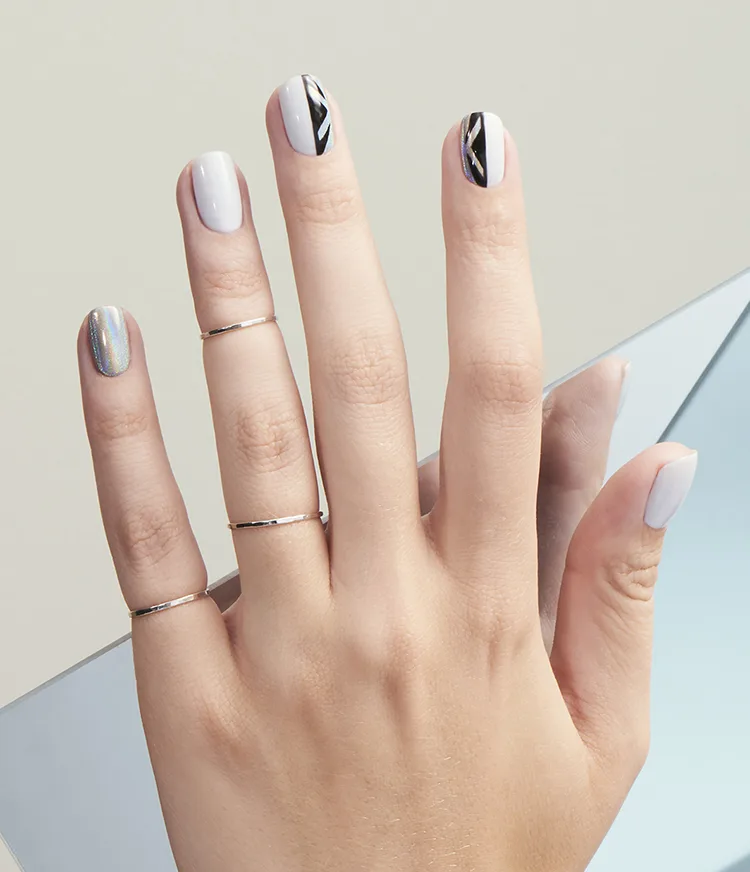
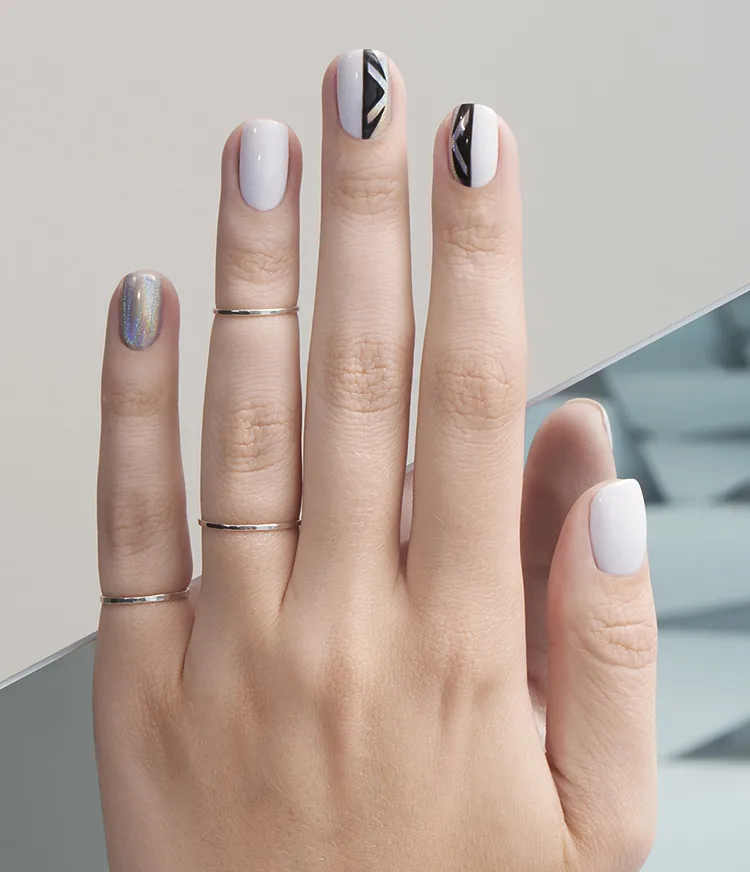
Chrome Magnum
Step up your manicure with nail art featuring shades from the OPI Chrome Collection! This sophisticated nail art look is guaranteed to turn heads.
Step by Step
Step 1
Begin by applying 1 coat of OPI GelColor Base Coat of your choice, to properly prepped nails. Cure for 30 seconds in OPI LED Light.
Step 2
Apply 2 thin coats of OPI GelColor in Alpine Snow. Cure each coat 30 seconds in OPI LED Light.

Step 3
Apply 1 thin coat of a No-Cleanse Top Coat. Cure 30 seconds in OPI LED Light.
Step 4
Vertically place a piece of thick striping tape in the center of the nail.

Step 5
Use an applicator sponge to apply OPI Chrome Effects Mixed Metals on one side of the taped area. Rub onto the nail until the Chrome Effect starts to appear.

Step 6
Use a cosmetic brush to dust off excess powder. Carefully remove the nail art tape.

Step 7
Use a 240 File to lightly file the free edge only on the area with chrome powder. Use a cosmetic brush to dust off excess powder.
Step 8
Apply 1 thin coat of a No-Cleanse Top Coat. Cure 30 seconds in OPI LED Light.
Step 9
Prepare the surface for nail art by lightly buffing with the 280 side of the FLEX 220/280 Buffer.
Step 10
Use OPI GelColor Black Onyx to paint a straight line down the center of the nail. Cure 30 seconds in OPI LED Light.

Step 11
Use OPI GelColor Black Onyx to paint angled lines and a triangle inside the chrome area. Fill in the triangle and flash cure for 15 seconds as needed. Cure 30 seconds in OPI LED Light.

Step 12
Apply 1 thin coat of the OPI GelColor Chrome Effects No-Cleanse Top Coat. Cure 30 seconds in OPI LED Light.
Video Tutorial

Chrome Effects Nail Art


Show 'Em Off
Snap a nailfie and tag us @opi or use #OPIObsessed for a chance to be featured on our channels.
Follow us on Instagram


