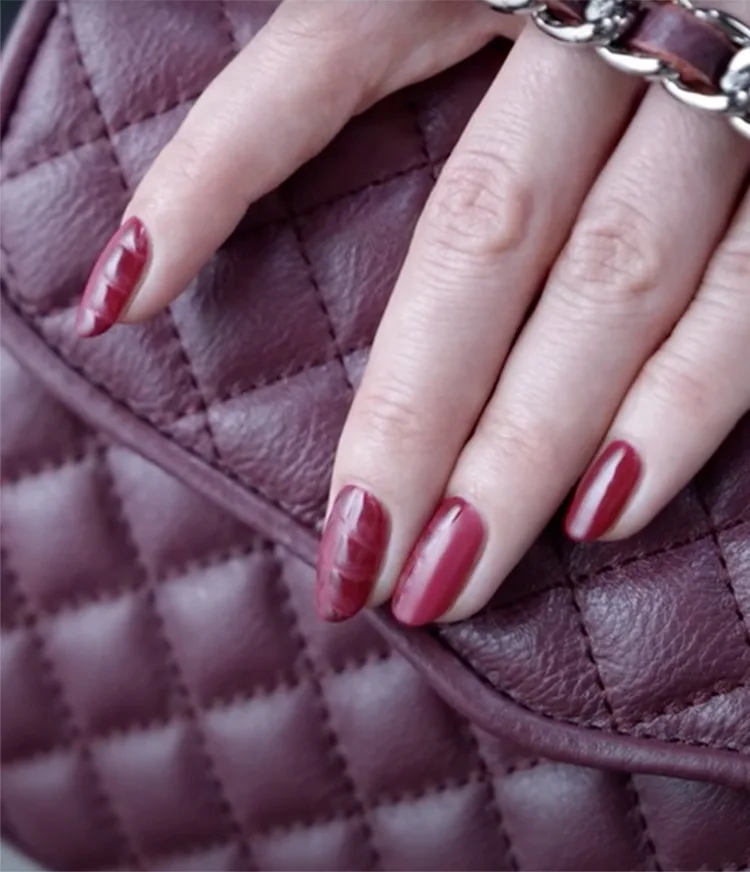
Cherry Blossoms Matte Nail Art
Try something new with nail art featuring shades from the OPI Washington D.C. Collection! This nail art look is the perfect accessory for spring.
Step by Step
Step 1
Begin by applying 1 coat of OPI GelColor Base Coat of your choice, to properly prepped nails. Cure for 30 seconds in OPI LED Light.
Step 2
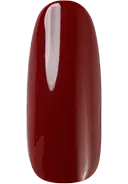
Apply two thin coats of OPI GelColor OPI by Popular Vote. Cap free edge. Cure each coat for 30 seconds.
Step 3
Apply a thin coat of OPI GelColor Stay Matte Top Coat. Cure 30 seconds. Remove gel residue with Expert Touch Nail Wipe and N.A.S. 99.
Step 4
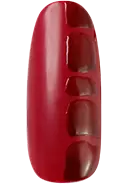
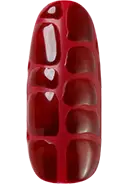
Using the OPI Golden Point Brush and OPI GelColor We The Female, create scales down the side of the nail. Cure 30 seconds.
Step 5
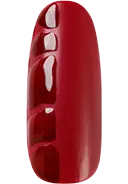
Using the same brush and OPI GelColor “Liv“ in the Gray, add shadows in the upper part of each scale. Apply highlights with OPI GelColor Pale to the Chief on the bottom part of each scale. Cure 30 seconds.
Step 6
Apply OPI GelColor Stay Shiny Top Coat ON THE SCALES ONLY, and cure 30 seconds. Remove gel residue with Expert Touch Nail Wipe and N.A.S. 99.
Video Tutorial


Show 'Em Off
Snap a nailfie and tag us @opi or use #OPIObsessed for a chance to be featured on our channels.
Follow us on Instagram