Nail Trends
5 Simple Nail Art Designs for Beginners
Hey guys, it's Raven again, and today I'm going to give you a step-by-step to accomplish 5 different simple nail art looks using OPI Infinite Shine Long-lasting Nail Polish.
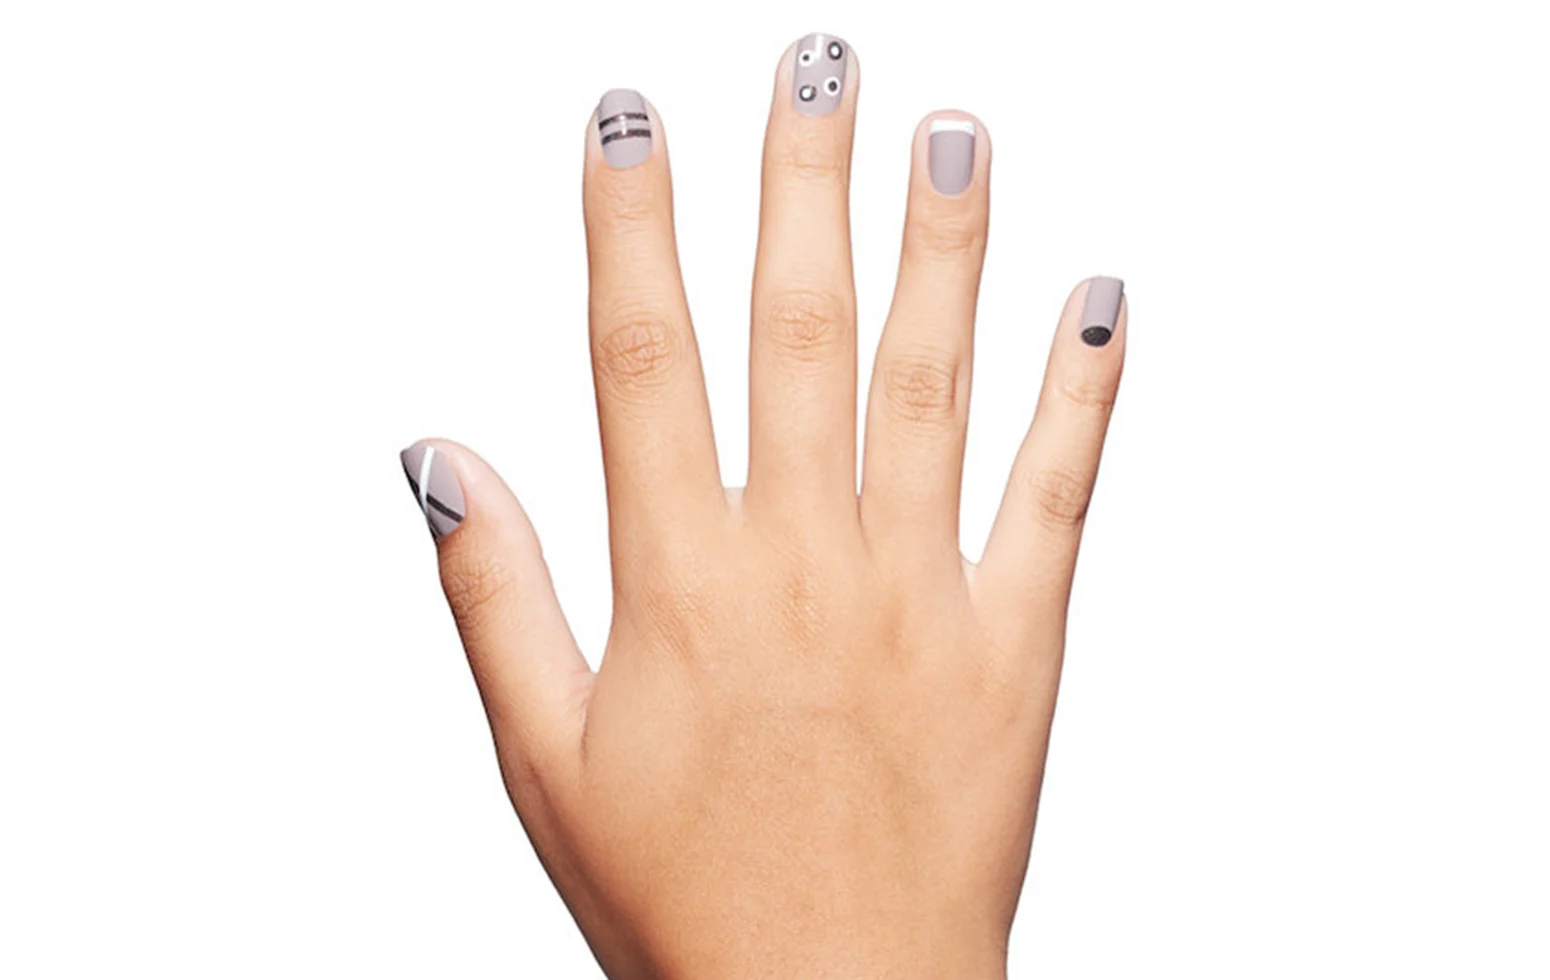
These designs are all super simple, yet still chic giving you a little something without being too over the top.
We're going to start off with some basics to prep the nails for your designs:
1. Always start off with clean, dry nails. Cleanse the nail bed with N.A.S. 99 to give yourself a clean surface before you polish.
2. Apply 1 coat of Infinite Shine Gel-like Base Coat to the entire nail. Be careful as to not touch the cuticle, and make sure to cap the free edge of the nail.
3. Apply 2 thin coats of Taupe-less Beach. Again, be careful not to touch the cuticle, and cap the free edge of the nail. Let dry for 2 minutes before going on to the next step.
4. Now for some NAIL ART!!! If you're a licensed nail pro, you can use your OPI Artist Series Brush Kit to help you nail these easy looks (pun intended)! To achieve the looks shown, we used Alpine Snow and My Private Jet. Now we get into the designs:
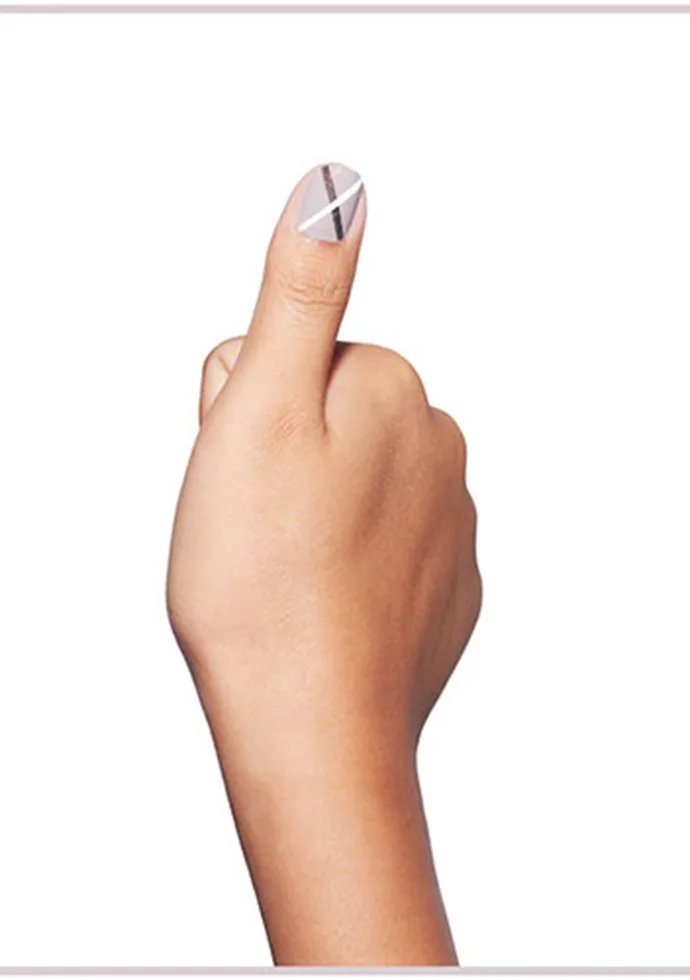
THUMB NAIL:
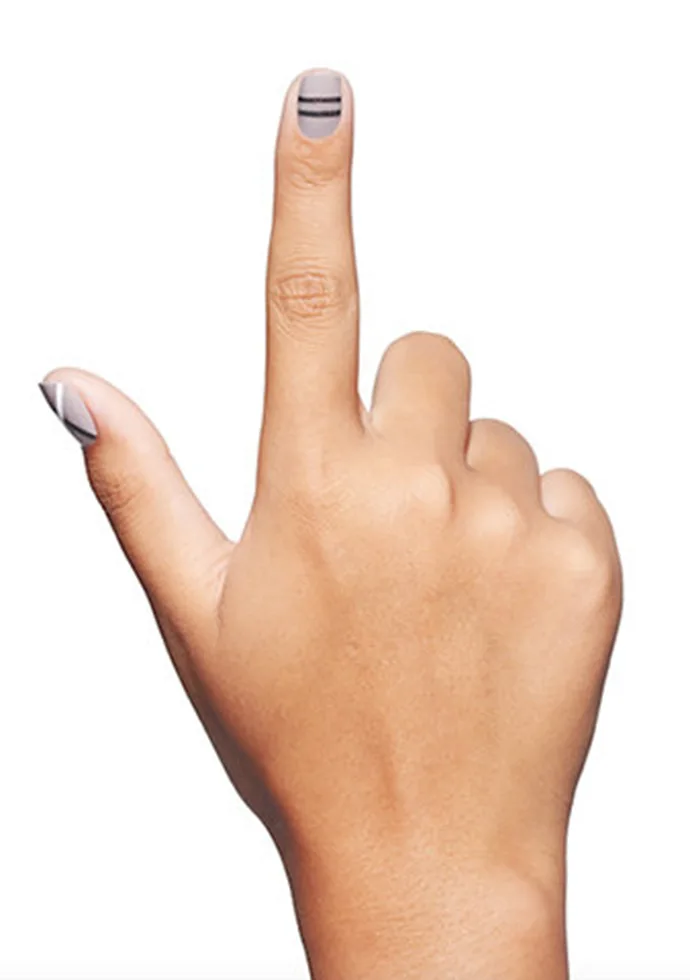
INDEX:
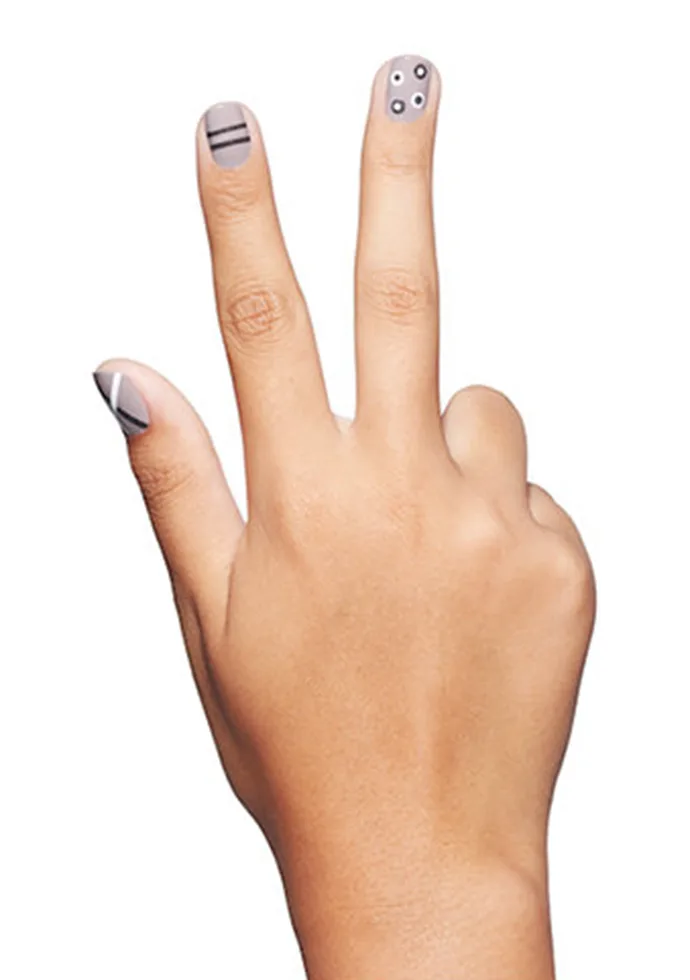
MIDDLE:
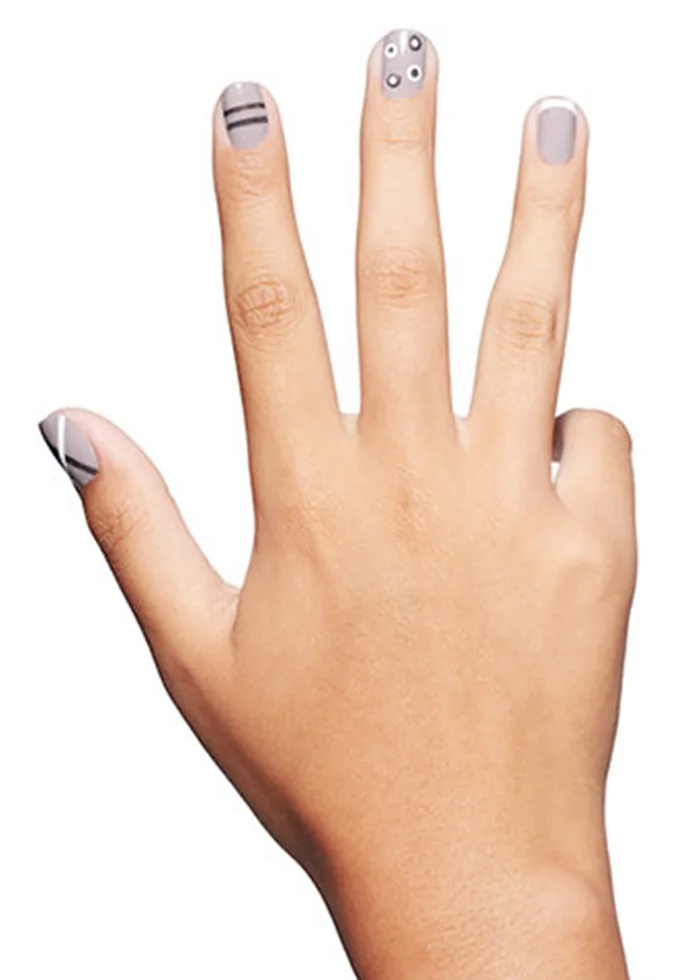
RING:
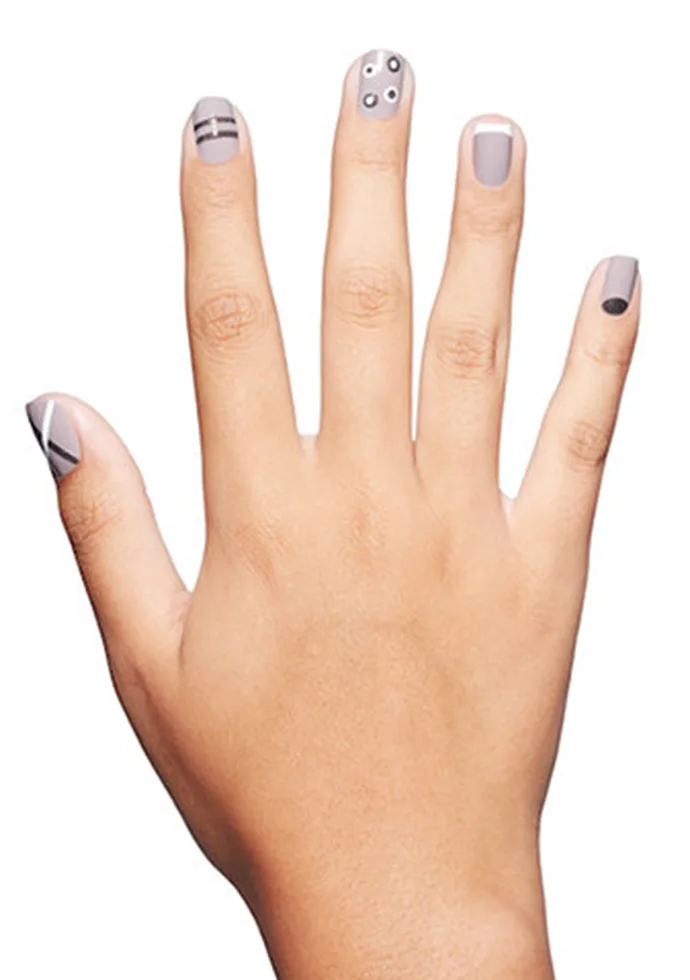
PINKY:
And to top the designs off:
5. Make sure you allow all of your nail art looks to dry at least 3 to 5 minutes before applying Infinite Shine Gel-like Top Coat to each nail so that the designs don't bleed. Make sure you cap the free edge to ensure minimal wear or chipping at the tip of the nail.
6. Wait for 5 to 10 minutes to dry, and then enjoy your fun nail art looks!!! Until next time.....
