Nail Care
Perfect Nail Prep: 5 Quick Steps to Make Your Manicure Last
It’s no secret that the perfect manicure starts with the perfect prep!
This season, get salon worthy manicures at home with these easy-to-follow prep tips from OPI’s award winning education manager, salon owner and manicure extraordinaire, Belinda Price!

Sign up to our mailing list via the footer to get the latest product drops, discounts, and more from Wella brands straight to your inbox.
Tools Required:
Cuticle stick (Pro only)
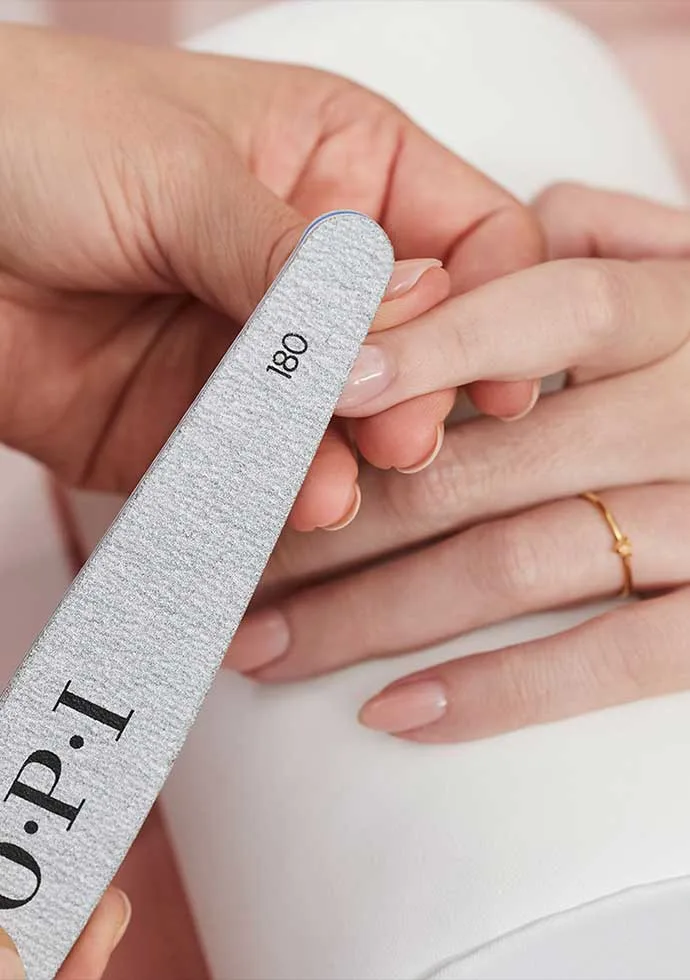
OPI 240 grit file (Pro only) or OPI Crystal nail file
Step by Step
Step 1
Remove any previous nail lacquer with OPI Lint Free Wipes and OPI Expert Touch or Acetone Free Lacquer Remover.
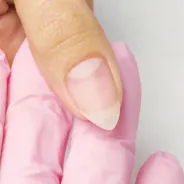
Apply OPI Exfoliating Cuticle Cream to the area around the nail.
Use a cuticle stick to gently push back cuticles.
Shopping list:
Nail Wipes (Pro only)
Cuticle stick (Pro only)
Step 2
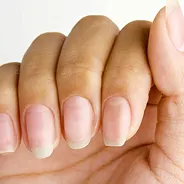
File nails to preferred length and shape.
Step 3
Wash and dry hands thoroughly to remove any remaining product and nail filing debris.
Step 4
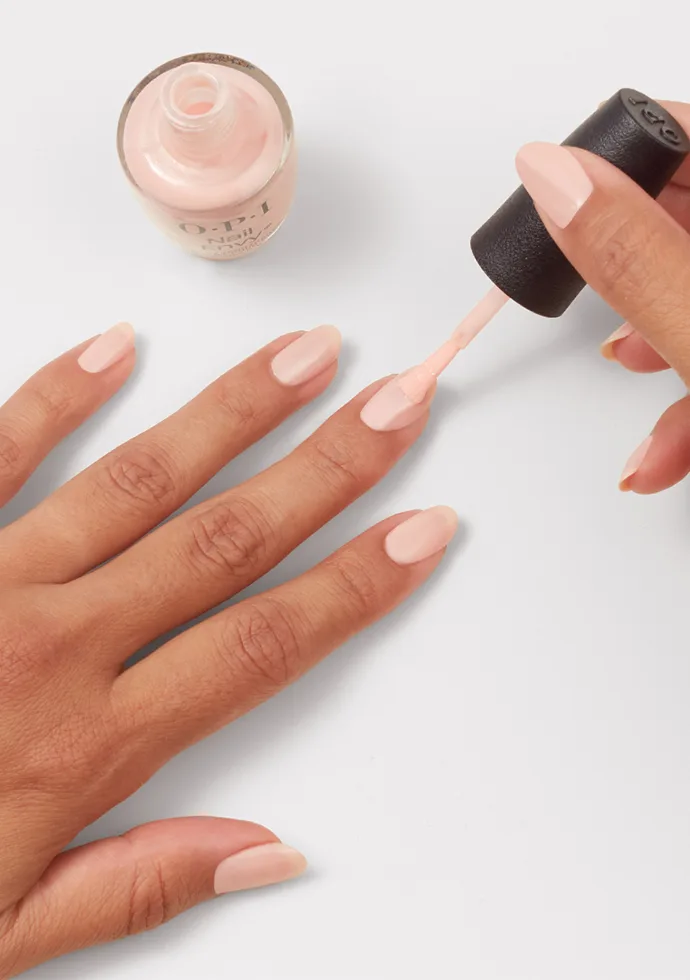
Apply OPI Chipskip.
Apply OPI base coat.
Apply 2 colour coats of your preferred OPI Nail Lacquer, 1 coat of OPI Nail Lacquer Top coat and finish with OPI drip Dry Drops or Rapid Dry Spray.
Shopping list:
Step 5
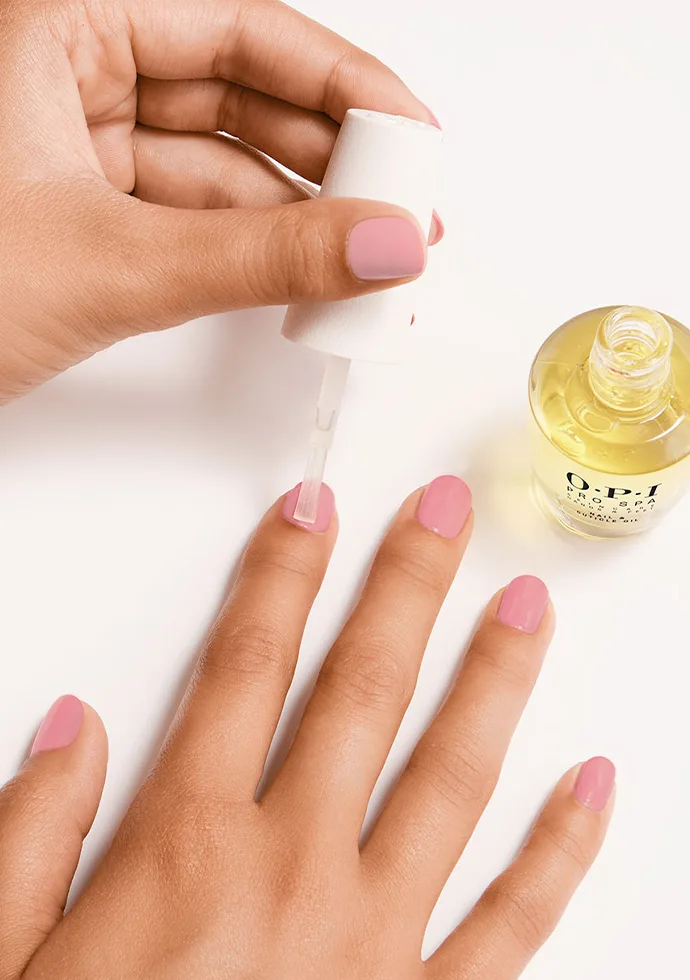
Remember to use your OPI ProSpa Nail & Cuticle Oil twice a day, Repair Mode between manis or under the free edge of the nail, and ProSpa Protective Hand Cream for moisture.
Shopping list:
Any questions? DM us on Instagram @opinailsuk or @opiuki_pro.
