Nail Care
How to Remove Gel Nails at Home
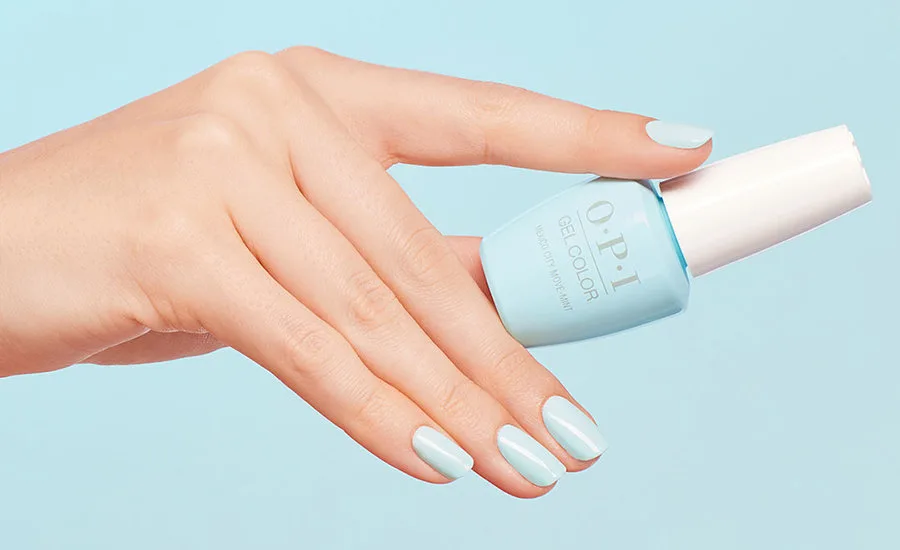
Learning how to remove gel nails at home can seem daunting, so we created a step-by-step guide with the help of one of our OPI Educators, Sigourney Nunez.
Below, she detailed how you can safely remove your gel nails from the comfort of your own couch, just make sure you follow each step carefully to ensure you don’t cause any damage to your nails.
What You'll Need for your Gel Nail Removal Kit:
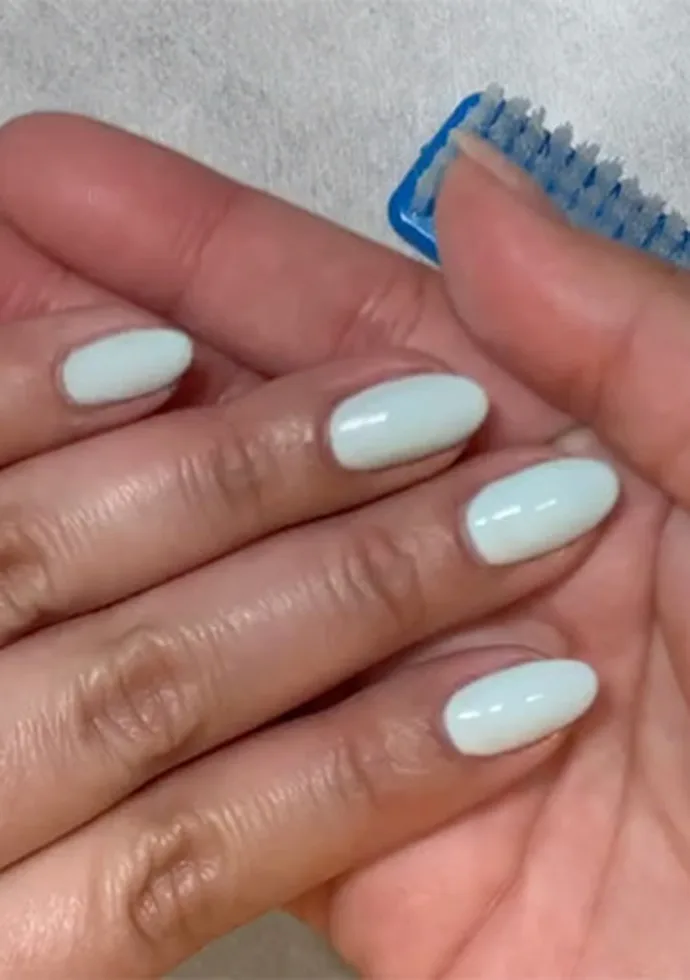
Manicure brush
Cotton balls or cotton pads (cut into halves or thirds)
Acetone-based nail polish remover (if you do not have this at home, scroll down to the last step of the tutorial to see an alternative technique)
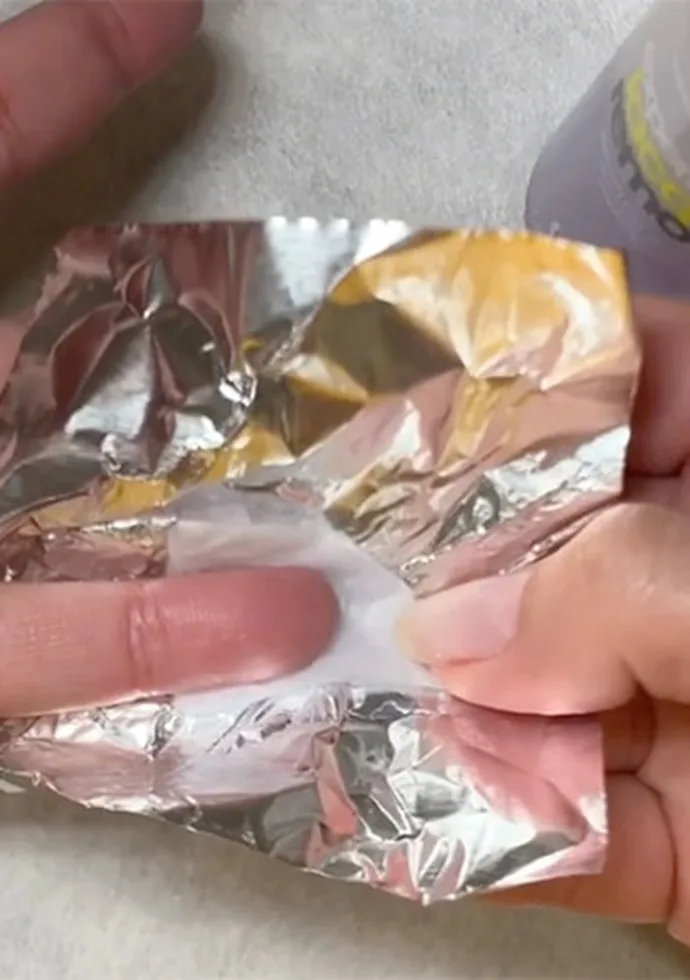
Aluminum foil cut into squares
A nail file
Reusable, or orange wood, cuticle stick
Rubbing alcohol
Cuticle Oil
Nail Envy or another type of nail strengthening solution - we recommend you have this at hand before attempting to remove gel
NOTE: If you do not have everything on hand, try reaching out to your local salon or nail technician via Instagram, phone, or email, and ask if they’re able to put together a small gel nail polish removal rescue kit to send your way.
View the full DIY tutorial here on IGTV or follow the steps by steps below:
Step 1
Use a nail file to break the seal on each nail's free edge and side walls. The key here is to remove as much of the shine as you can but to not file down to your natural nail. Light pressure is ideal!
Step 2
Fully saturate a cotton ball with nail polish remover, place it directly on top of the nail ensuring the entire nail gets covered, then wrap both the cotton ball and the nail in your foil square.
Step 3
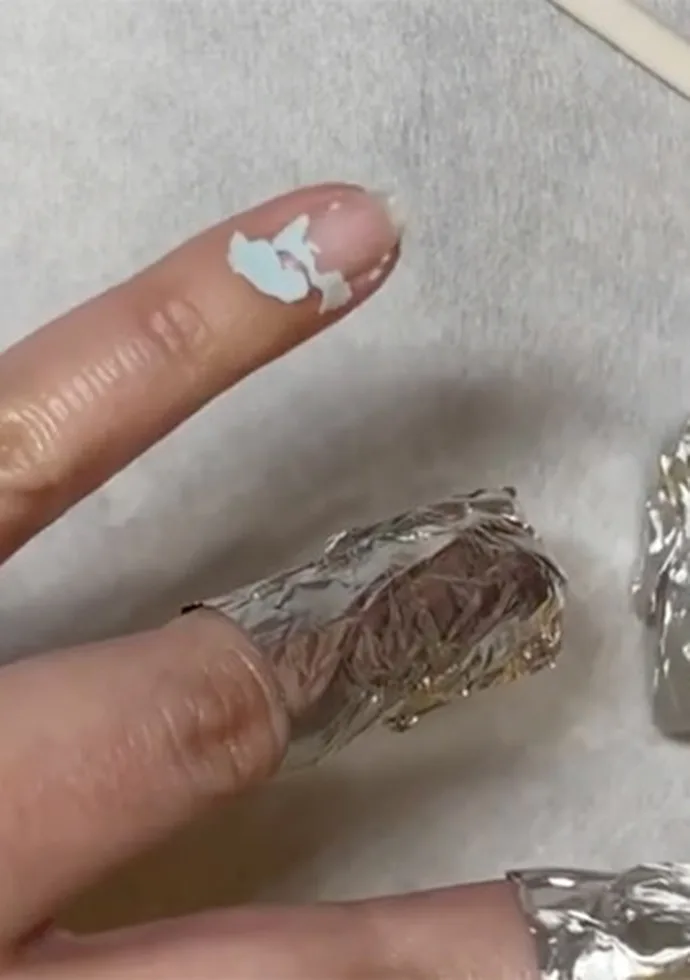
Allow to soak for at least 15-20 minutes. For added heat, you can wrap your hands in a towel, just make sure you’ve turned your favorite Netflix show on beforehand. As tempting as it might be, make sure you don’t peek! Let the remover do its thing and allow for enough time to break down the gel.
Step 4
After approximately 15 minutes, start by gently pressing and twisting the foil and cotton off of each nail, working with one nail at a time. The cotton ball or pad should have a fair amount of gel residue attached to it.
Step 5
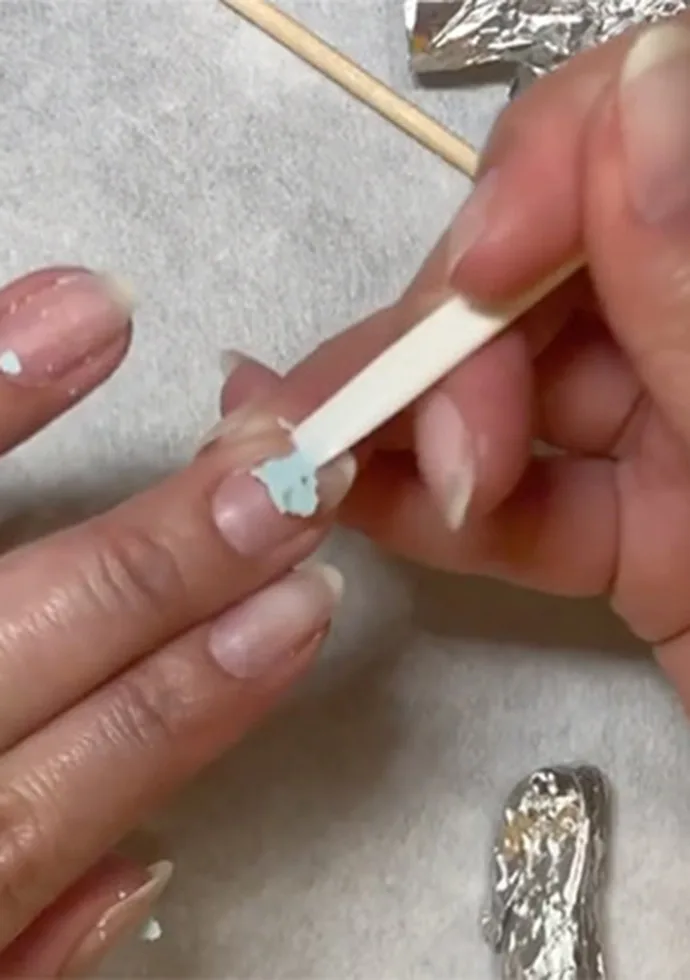
Take a cuticle stick and gently push the remaining gel residue off of each nail, working from the cuticle area towards the free edge.
Moisturize!
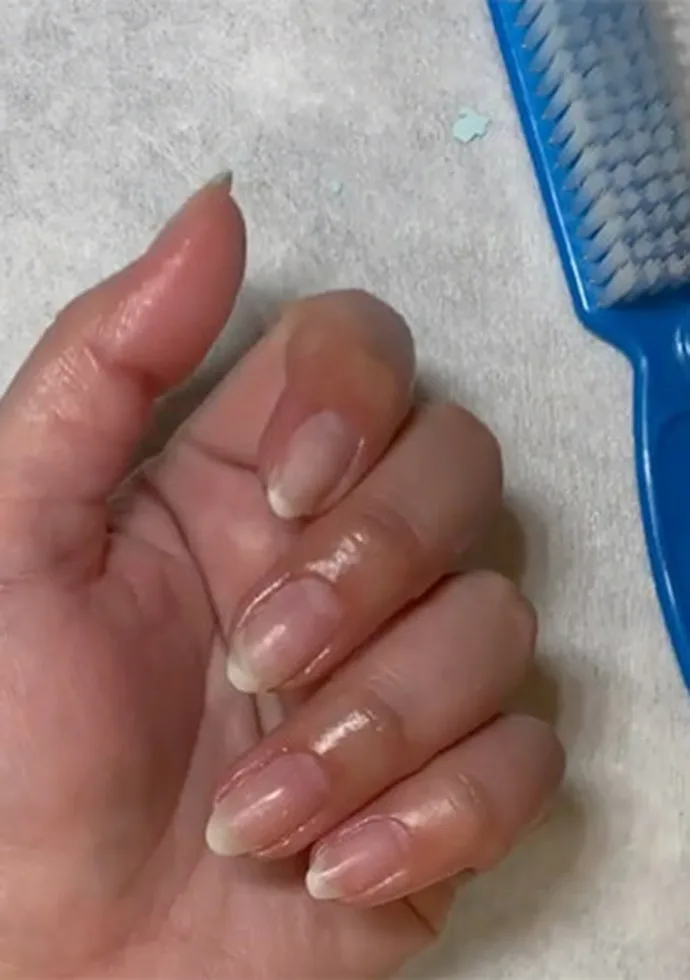
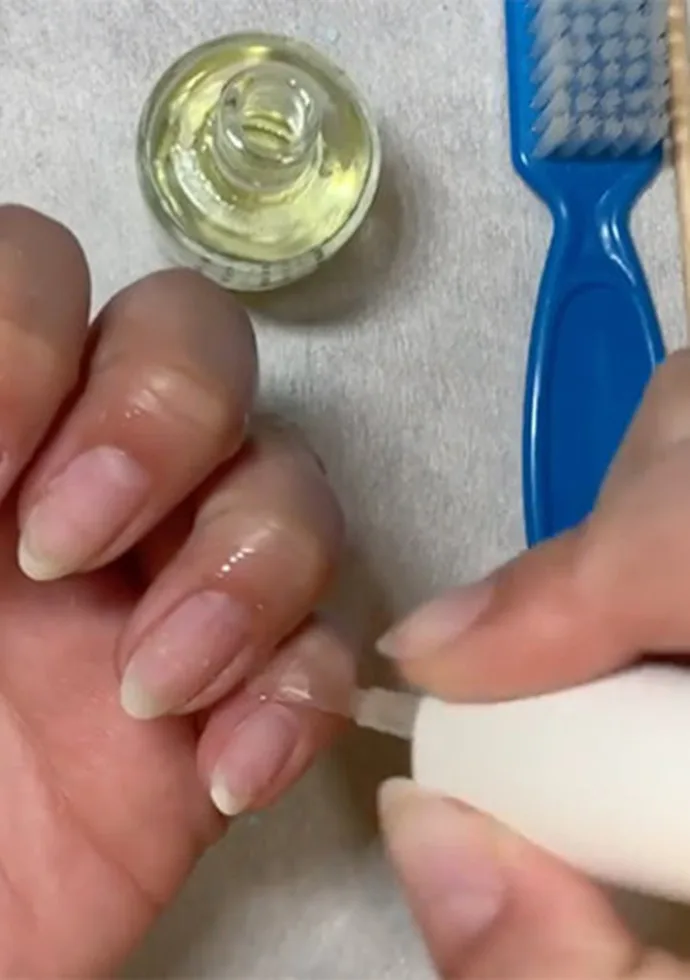
For any nails with remaining residue after removing with the cuticle stick, repeat steps 2-5. Once all residue is fully removed, lightly cleanse the nail surface with a cotton ball (or pad) and rubbing alcohol. Be sure to apply cuticle oil to keep nails protected and moisturized!
Keep your nails strong
Improper removal can definitely cause nail damage, ouch! That’s why we suggest adding your favorite nail strengthener like OPI Nail Envy as a final step to ensure your nails stay as healthy as possible...until we can all get back into our favorite salons.
How to remove gel nail polish without acetone:
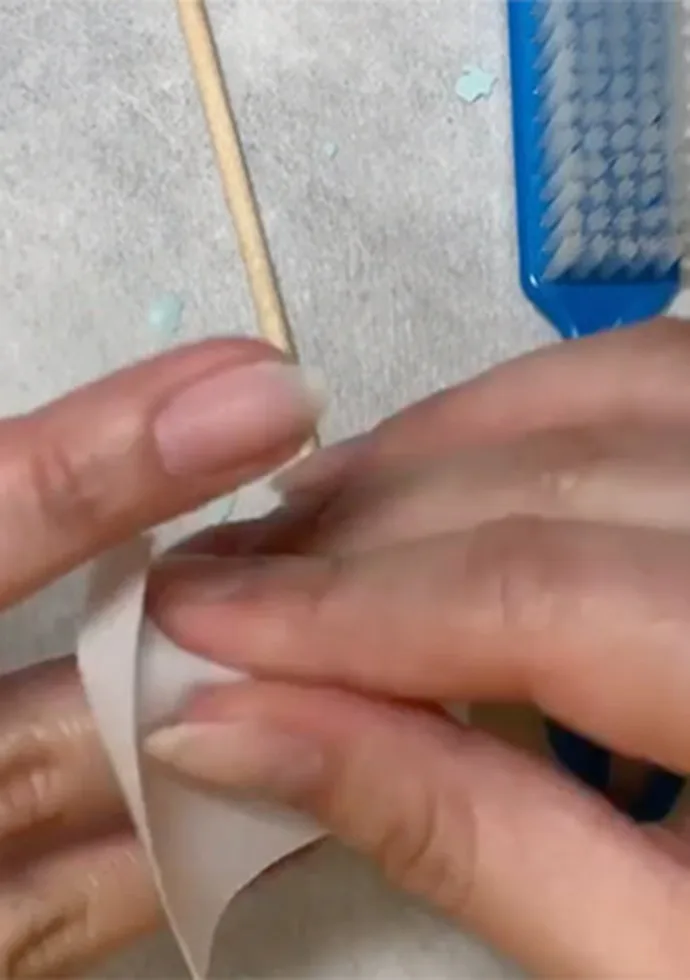
If you don’t have access to acetone nail polish remover, we have an alternative solution that can work in the interim. While we don’t recommend this as an everyday technique because it can thin your nails, what you can do is grab a medium-grit nail file to remove the shine and the color layers. Once you’ve reached the base coat, switch over to a buffer to smooth everything out. Remove any dust with a manicuring brush and wipe away with alcohol and a cotton pad. Be sure to bring moisture back into your nails with cuticle oil as a final step.
Have questions or want to show off your expertise? Reach out and thank OPI Educator Sigourney Nunez (@nailartbysig) by following her on Instagram for more tips and inspirational nail art.
Discover more on The Drop
